Welcome!
In this post, I'll share what you need to get started building your LED Bike setup. I'll start with the basics and link to more complex projects, concepts, and inspiration. Once you are done reading this post, you will have everything you need to get started building your own LED bike.
It's more fun with friends! If you haven't already, join the LED Bike Community chat on Discord:

Project Components:
These are the main materials to create the project, read on to learn more:

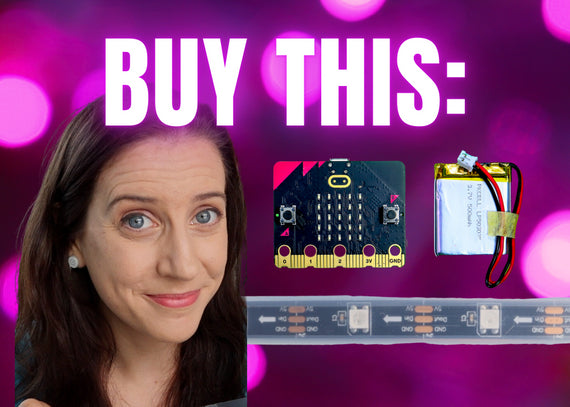
Microcontroller = micro:bit!
Micro:bit is a small microcontroller that was developed by the BBC to teach computer science in school. As an artist, I've been using micro:bit to add electronics to my projects because I can easily connect components like LED strips, and the code is simple to create. With micro:bit, I can spend more time creating and less time coding.

LEDs - Also called "Neopixels" or WS2812B Individual Addressable LEDs
"LED" stands for "Light Emitting Diode" - it's an electronic component that emits light when powered. To make all of the colors of the rainbow, each LED is actually 3 LEDs in one - red, green, and blue. When the individual LED colors are turned on in different brightnesses, we perceive all the colors in between, and when all three turned on to 100% we see white! It's the opposite of mixing primary paint colors. We can tell the LEDs to change to any color(s) we want in the code.
When we say that LEDs are "addressable" that means that each LED in the strip can be told to be a different color by the code. There are also non-addressable LED strips that change colors but all the LEDs will be the same color throughout the strip. This is a good thing to look out for when shopping to make sure you are buying what you are looking for!
A company called Adafruit popularized the term "neopixels" which is a brand name of WS2812B LED strips. Many people will use the term "neopixel" when they are talking about their project even if their LEDs aren't from Adafruit. It's like the "Kleenex" of LED strips. Adafruit sells neopixels in many reliable form factors and they are right in Brooklyn so shipping is very fast. However, the LEDs from Adafruit are almost always more expensive than purchasing from Amazon and other sellers.
I will refer to the addressable LEDs in my projects as "Neopixels" because it's way easier to say that than "WS2812B LEDs". 🤣

Neopixels come in many, many form factors so you can get really creative with any project that you can dream up! I have a post explaining the types more in depth, but here are a few examples:


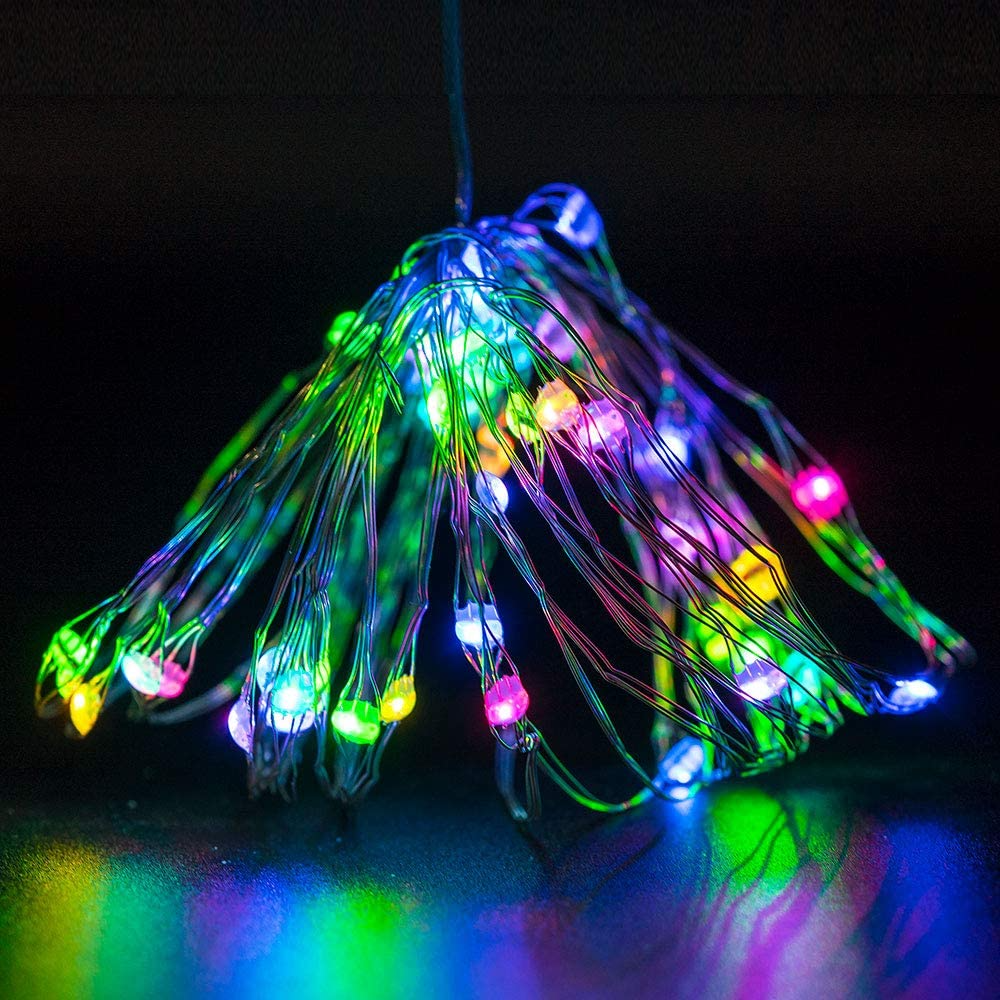
Wires / Connectors
Neopixels have three wire connections = power (+5V), ground (GND, or -), and data (DO and DIN, standing for "Data Out" and "Data In").
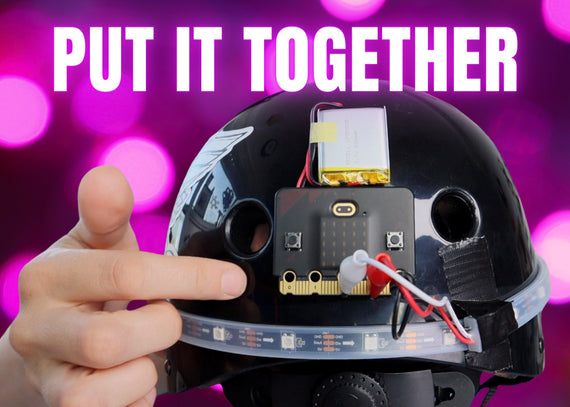
Make connections between neopixels and micro:bit like this:
- +5V to 3V on micro:bit
- GND to GND on micro:bit
- DIN to Pin 2 on micro:bit (this pin may change depending on your code)

Quick note: Notice that the strip has arrows on it. The arrows point in the direction that the neopixels are numbered in the code starting with 0 and counting up. If the arrow is pointing toward the micro:bit, it won't work! Keep this in mind if your project isn't working, it could be as simple as turning the strip around!
There are many ways to physically make these connections between neopixel LEDs and micro:bit, and a connection type will vary based on your project's form factor, your personal comfort level with skills like soldering, and whatever you have on hand! We've completed the initial light-up rides with alligator clipped wires and have since soldered, heat shrinked and weatherproofed strips for long term use.
The easiest connection type: LED strip with Alligator Clips
This connection can be completed without soldering and can be easily connected and disconnected. This makes it a great choice for beginners, and the beginning stages of your project when you are considering different placements of LEDs. Adafruit sells short 0.5 meter strips with the alligator clips pre-soldered to the strip, ready to connect to microbit!

The best connection type: Soldering wires to the neopixel strip
Soldering wires to the strip is the most versatile way to connect the strip to the micro:bit because it allows you to connect any length of wire and truly customize the project. You can also put "breaks" in the strip by soldering wires between pixels. This is how I make the lights bend around sharp corners on my bike frame.


More neopixel-strip-to-wire options....
There are LED strip clips that you can use to connect the small copper pads on the strip to wires without soldering. There are also many types of connectors to make your project modular. Read more about connections here.
Connecting wires to micro:bit:
With the neopixel strip connected to wires, it's easy to connect the other ends of the wires to micro:bit with screws. Place a small screw through the micro:bit hole and thread on a nut, then wrap the wire around the screw and tighten it in place.

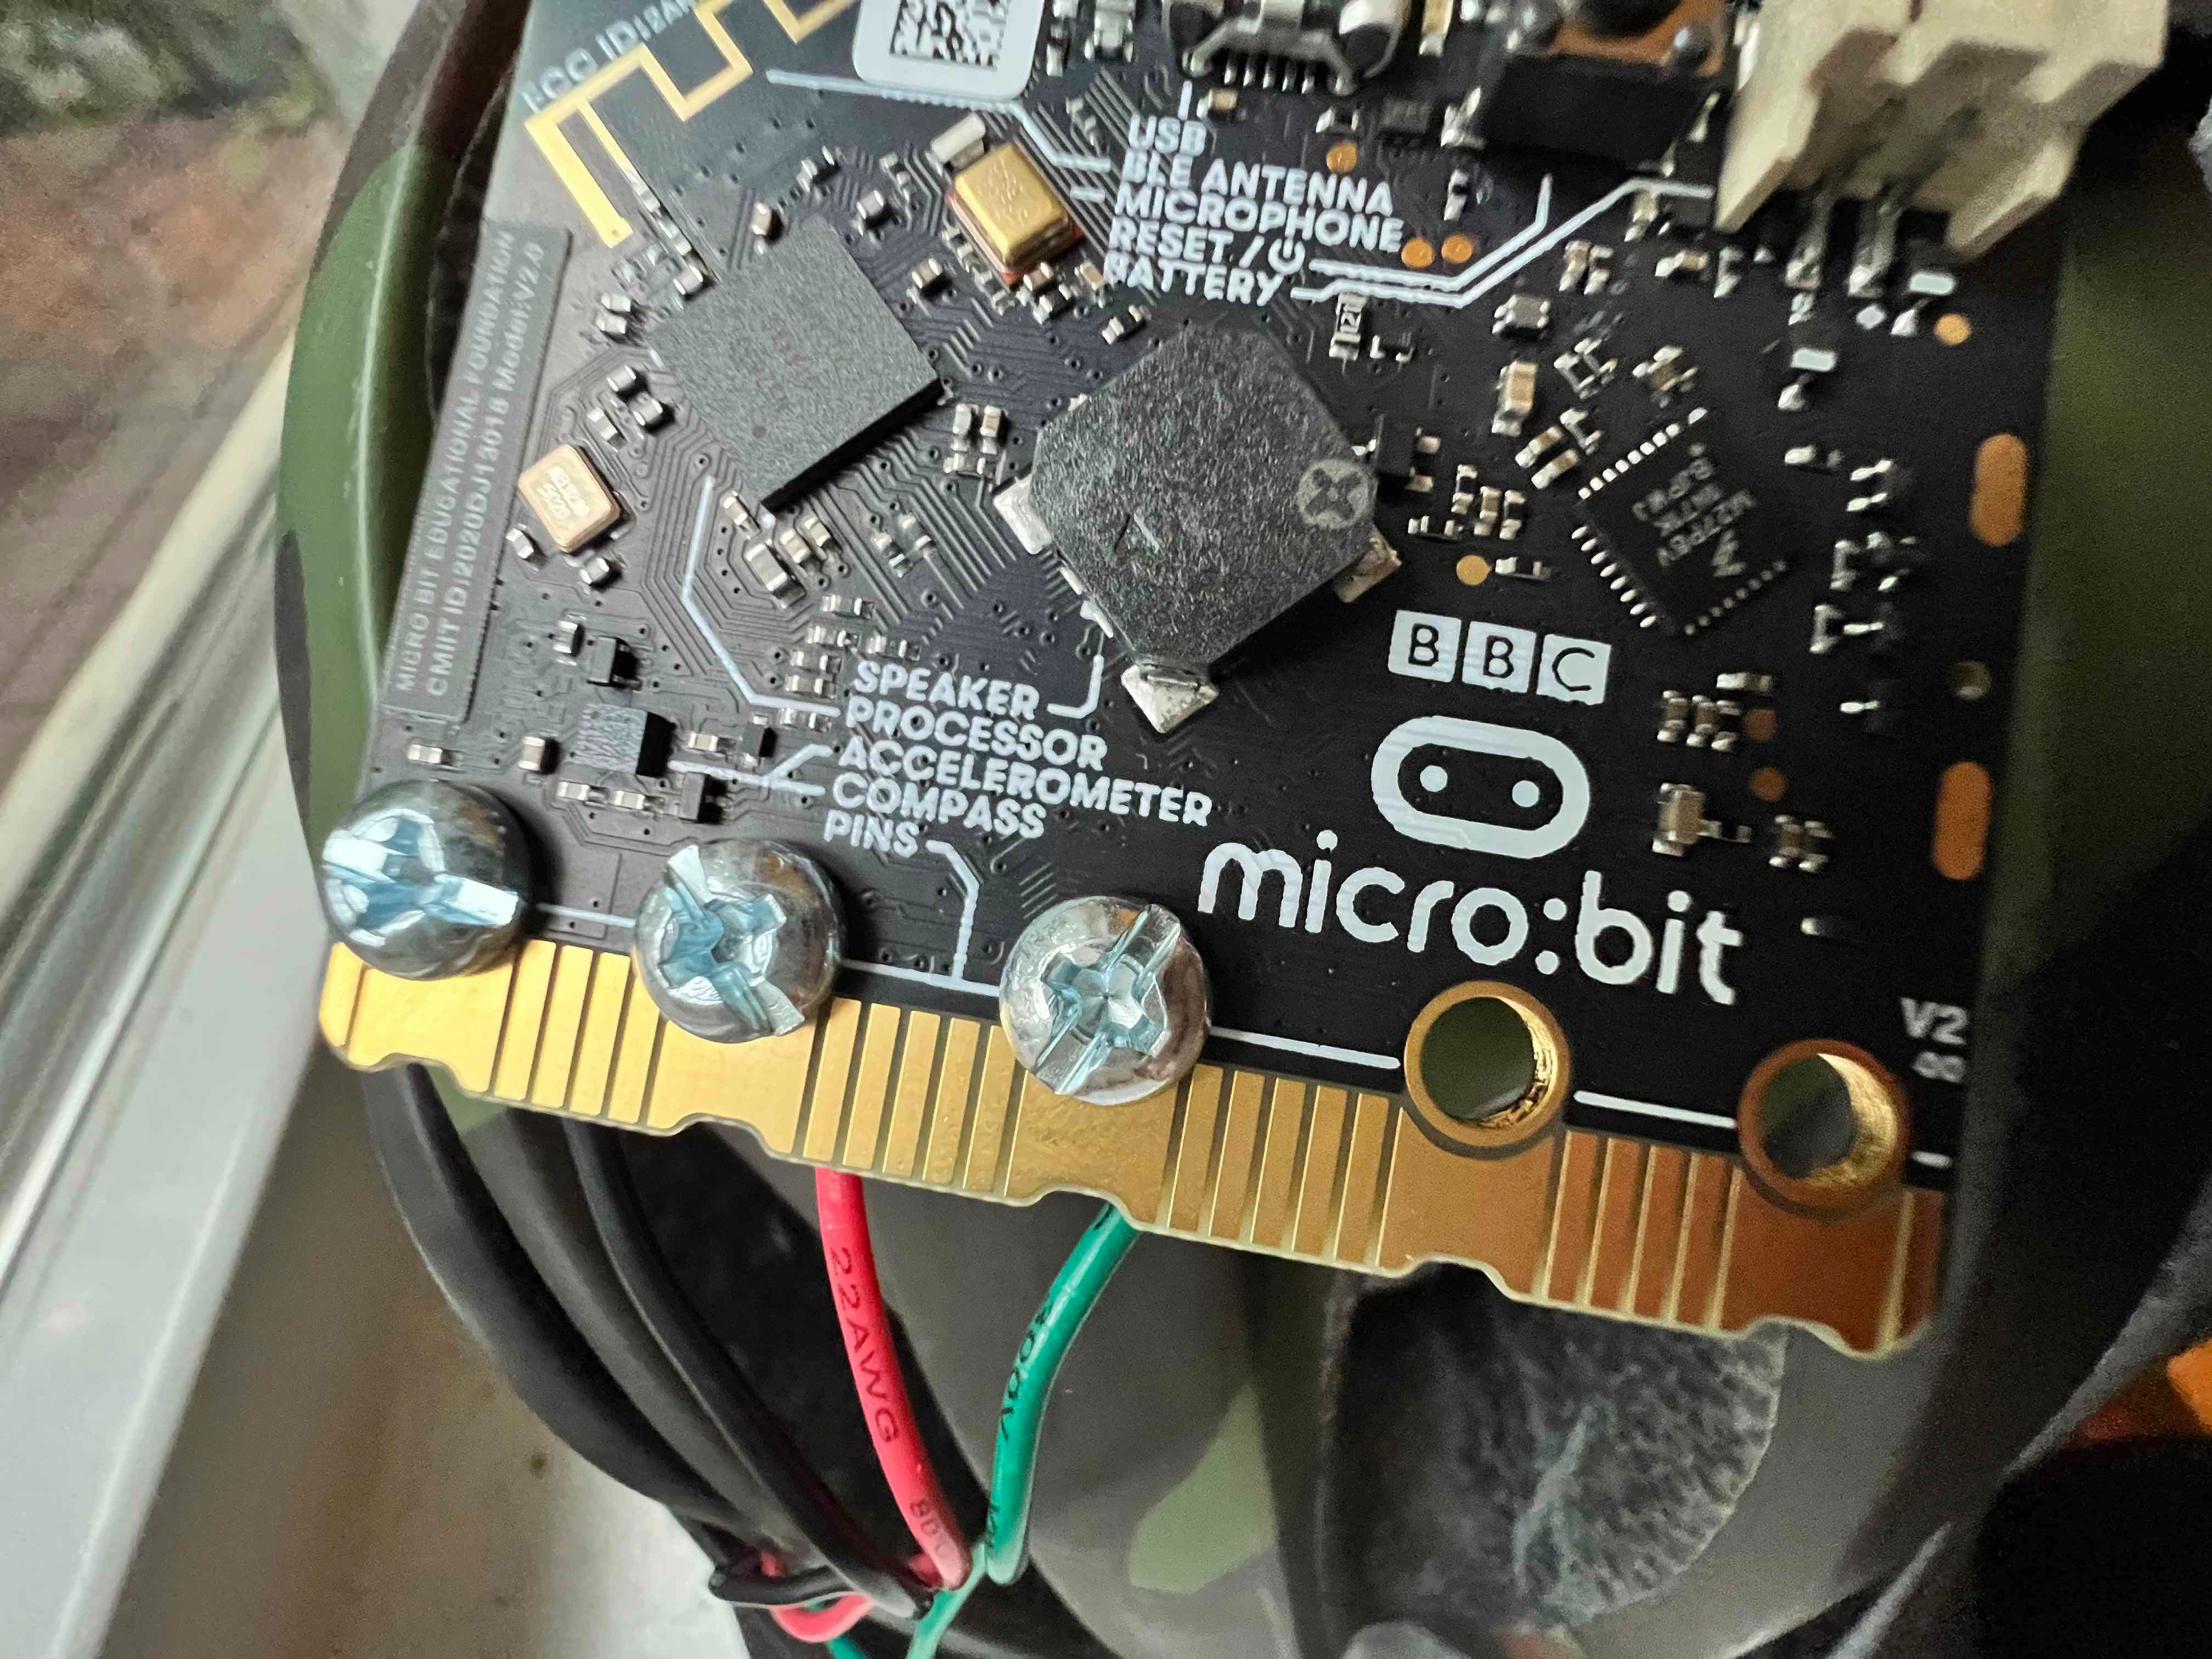
micro:bit "edge connectors":
There are many many many many "edge connectors" for micro:bit that allow you to slide the micro:bit into the connection and easily remove it. This is especially handy if you'd like to leave your lights on your bike and bring the micro:bit inside to your computer to upload code.


I used an edge connector on my bike frame so that I could connect more than 3 neopixel strips at once. The edge connector also gives you access to more "pins" than the 0, 1, and 2 that you can see have easy connections on the pads.


Batteries, Cables & Power
There are multiple ways to power your micro:bit, but the easiest is a simple USB battery pack. You probably already have one that you've used to re-juice your cell phone. A micro-USB cable connects to the micro:bit and will keep it powered up, and also doubles as the cable that will let you upload code from your computer to your micro:bit.
For more battery solutions, see the full post about powering micro:bit (coming soon).
Code
Downloading code to micro:bit is very similar to adding a file to a USB drive. I used the MakeCode block coding language to create the example code that you can download and learn more about here.

Make it happen!
Pfew! That was a lot. ...But there is so much to explore! I hope the big takeaway from this post is that you can get started with a micro:bit, a strip of LEDs, and plan for a way to connect the two. You probably already have a USB battery pack, so no need to go buying batteries right off the bat.
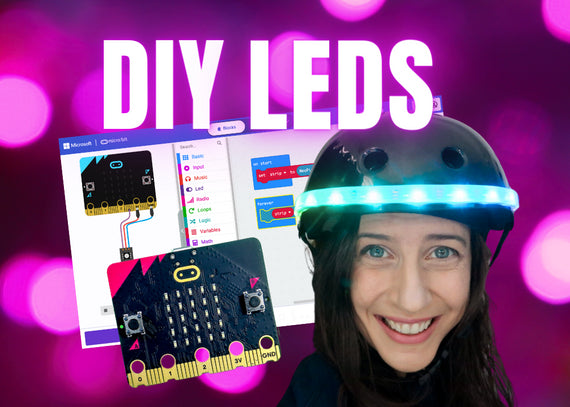
The simplest project is to add a small strip of lights to your helmet. Start with the simplest version of what you want to do, and work your way up - there are many branches to explore!
Keep your eye on the Dischord for more info about future meetups and to connect with others that can help brainstorm, troubleshoot, and congratulate you on progress. See you there!

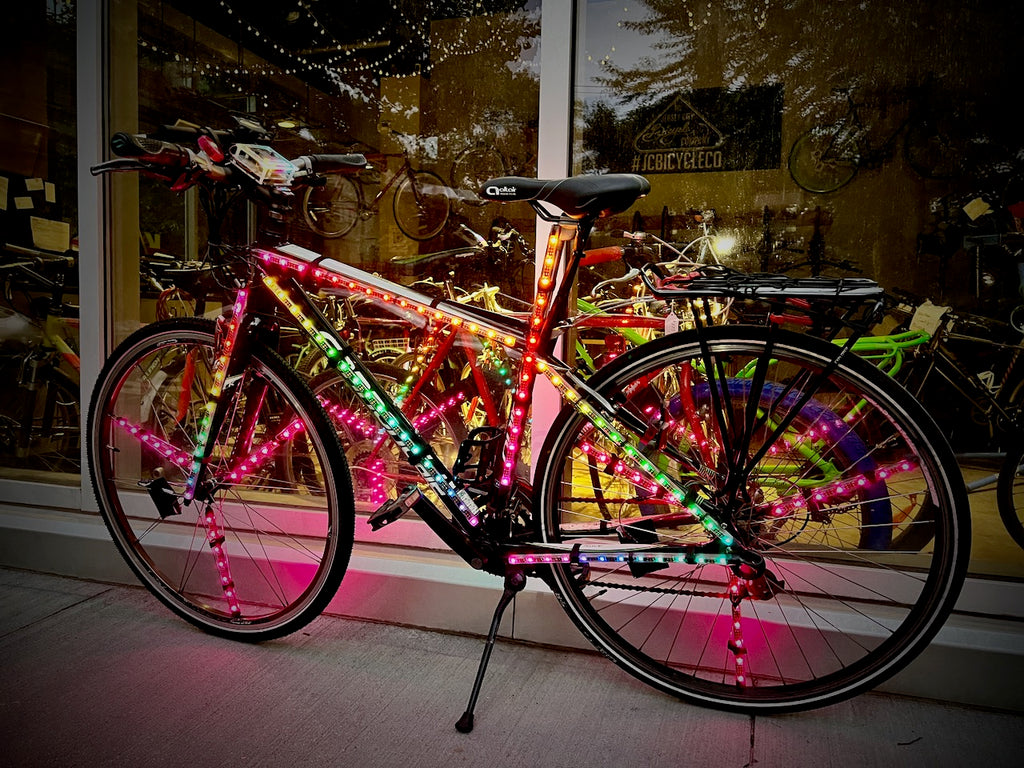


Des Fernando
on March 28, 2024 17:05
I found this project from Kiva.
I am very interested in this concept as there is possibility of introducing this concept to places I visit as a volunteer.
As I am volunteer Advisor with Catalyste (Funded by the Canadian Government), Would like to know about this project.
Thank you