Want To Create Custom LED Animations? This is how!
Welcome back! Natasha here. :)
This is the fifth of 10 blog posts featuring each video in my "Creative LEDs" series on animating LEDs with micro:bit and Make Code. If you've just stumbled upon this post, start from the beginning here.
To start coding in Make Code, check out the previous post (if you haven't already.)
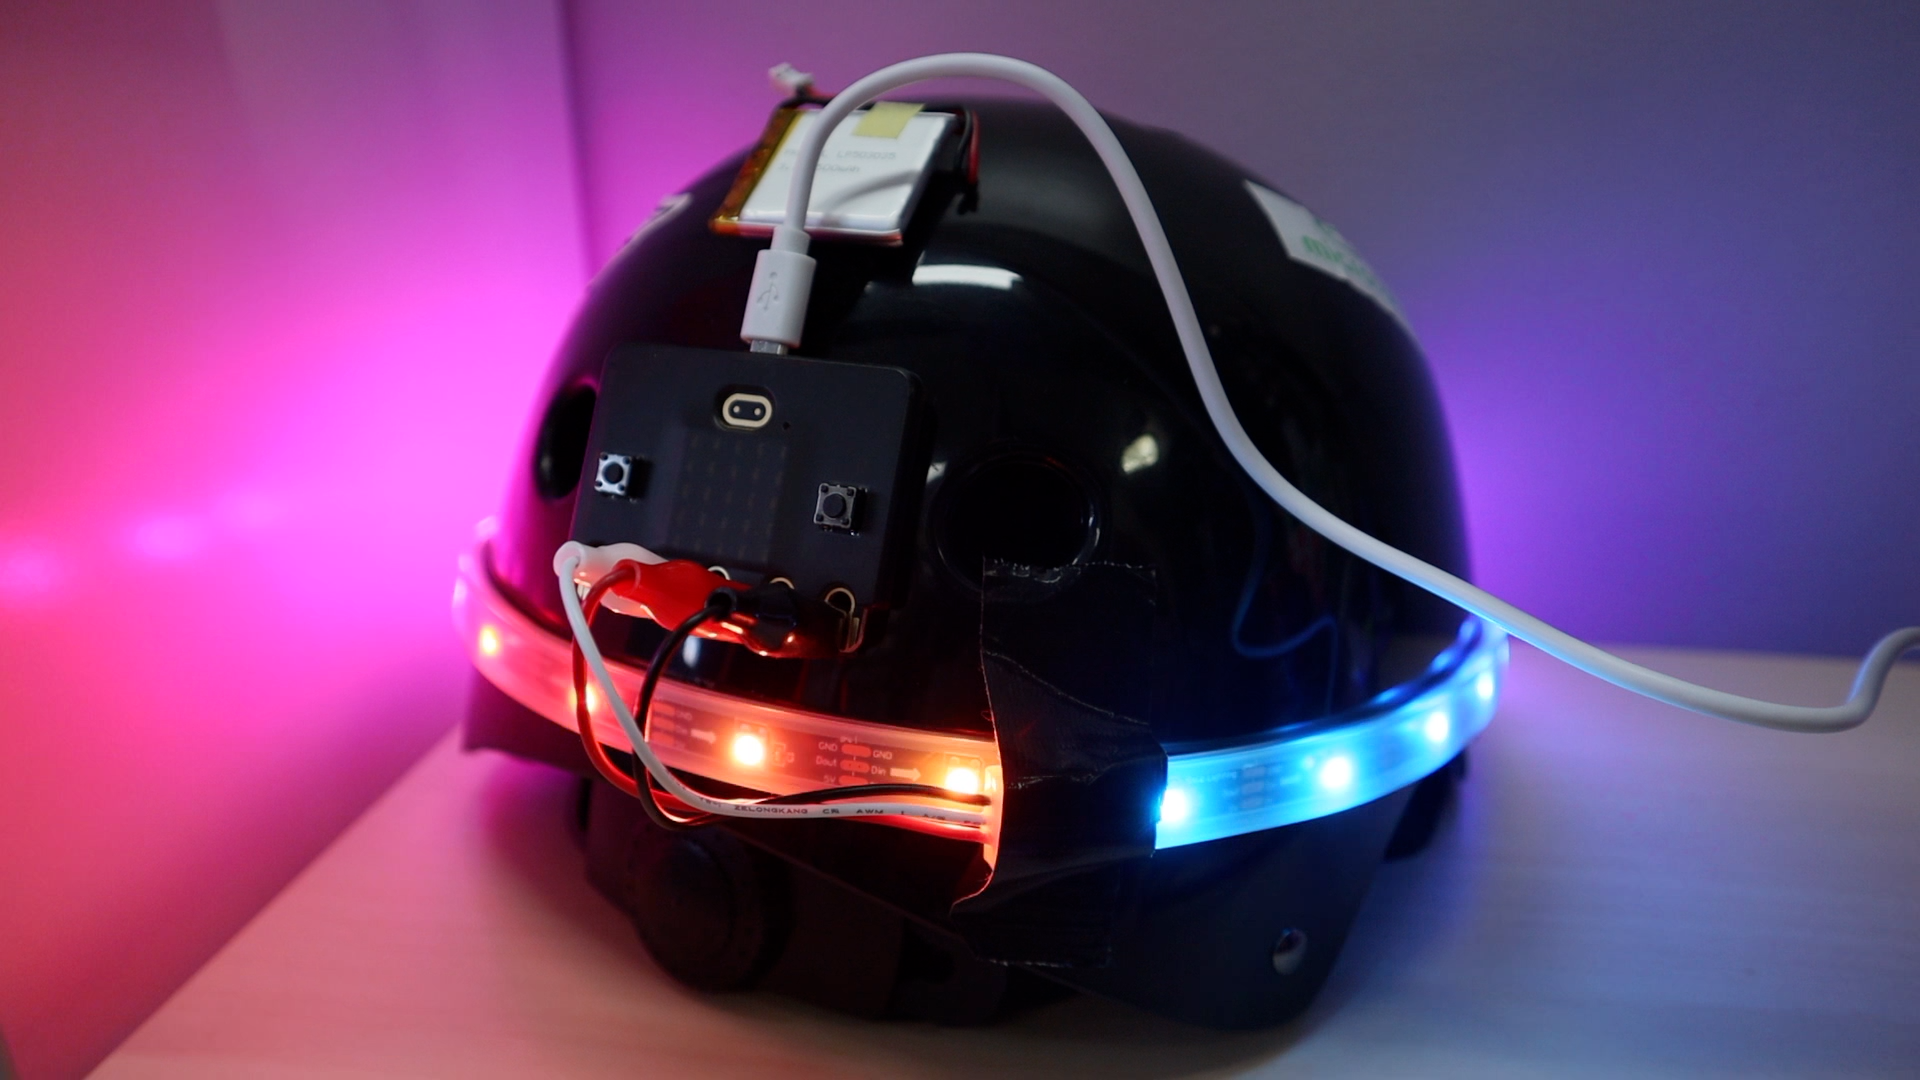
In the last video, I showed you how to turn the LEDs on and change them to show different colors. Then, I showed you how to change the duration of each color and, as a bonus, how to make an animated rainbow animation.
Building upon this, in this video I'll show you how to address the individual NeoPixel pixels to program LED animations that appear to be moving across the strip.
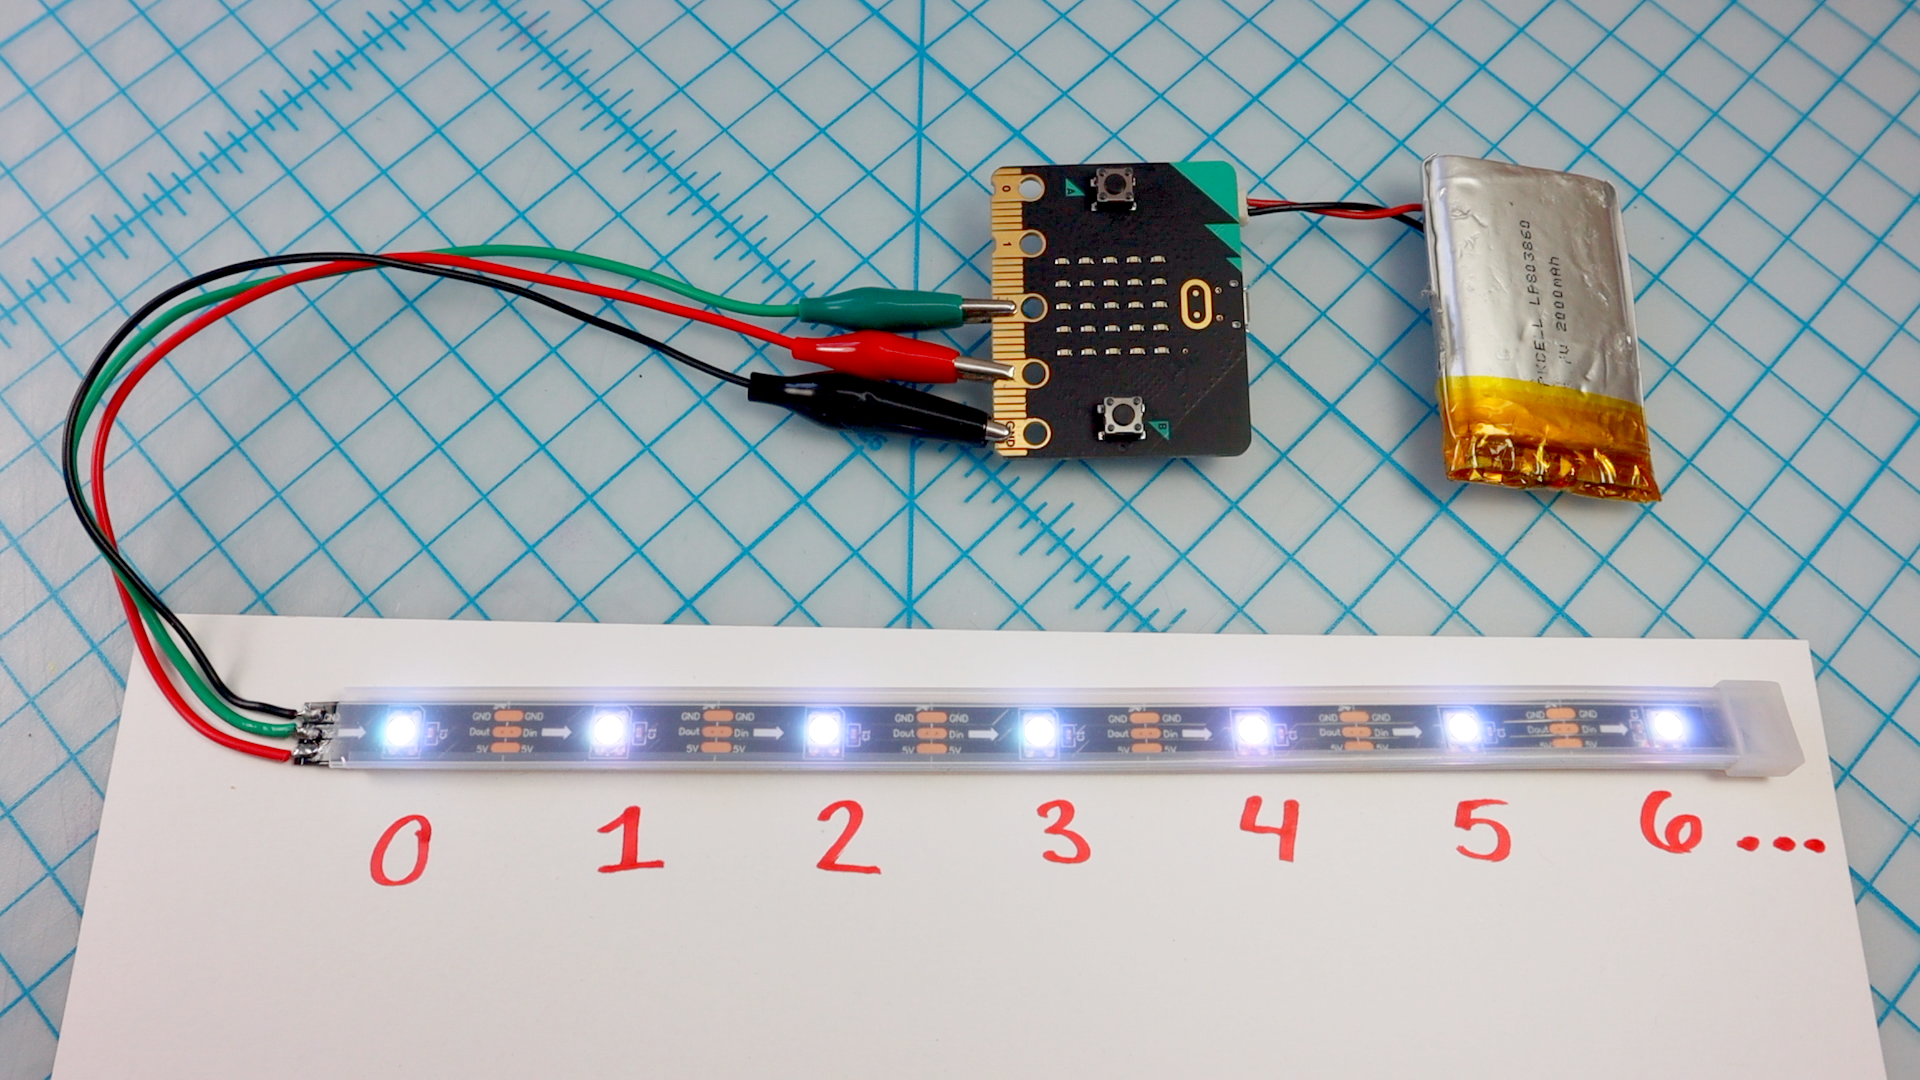
First, I'll show you how to refer to each pixel's address and use the "set pixel color" block to program each pixel's color individually. The video goes into this in more detail, but the one thing to remember is that you have to call "show!"
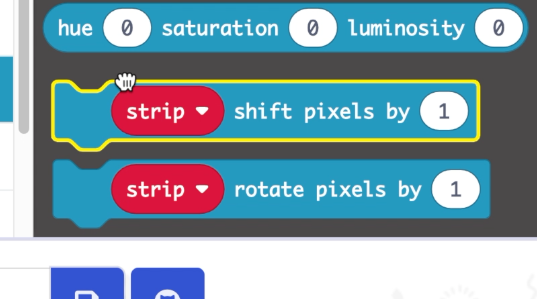
There are two ways to animate the pixels once you draw them: shift, and rotate. I'll go over the difference between the "shift pixels" and "rotate pixels" blocks and show an example of each. Then, I'll experiment with adding pixels to the animation and changing its direction.
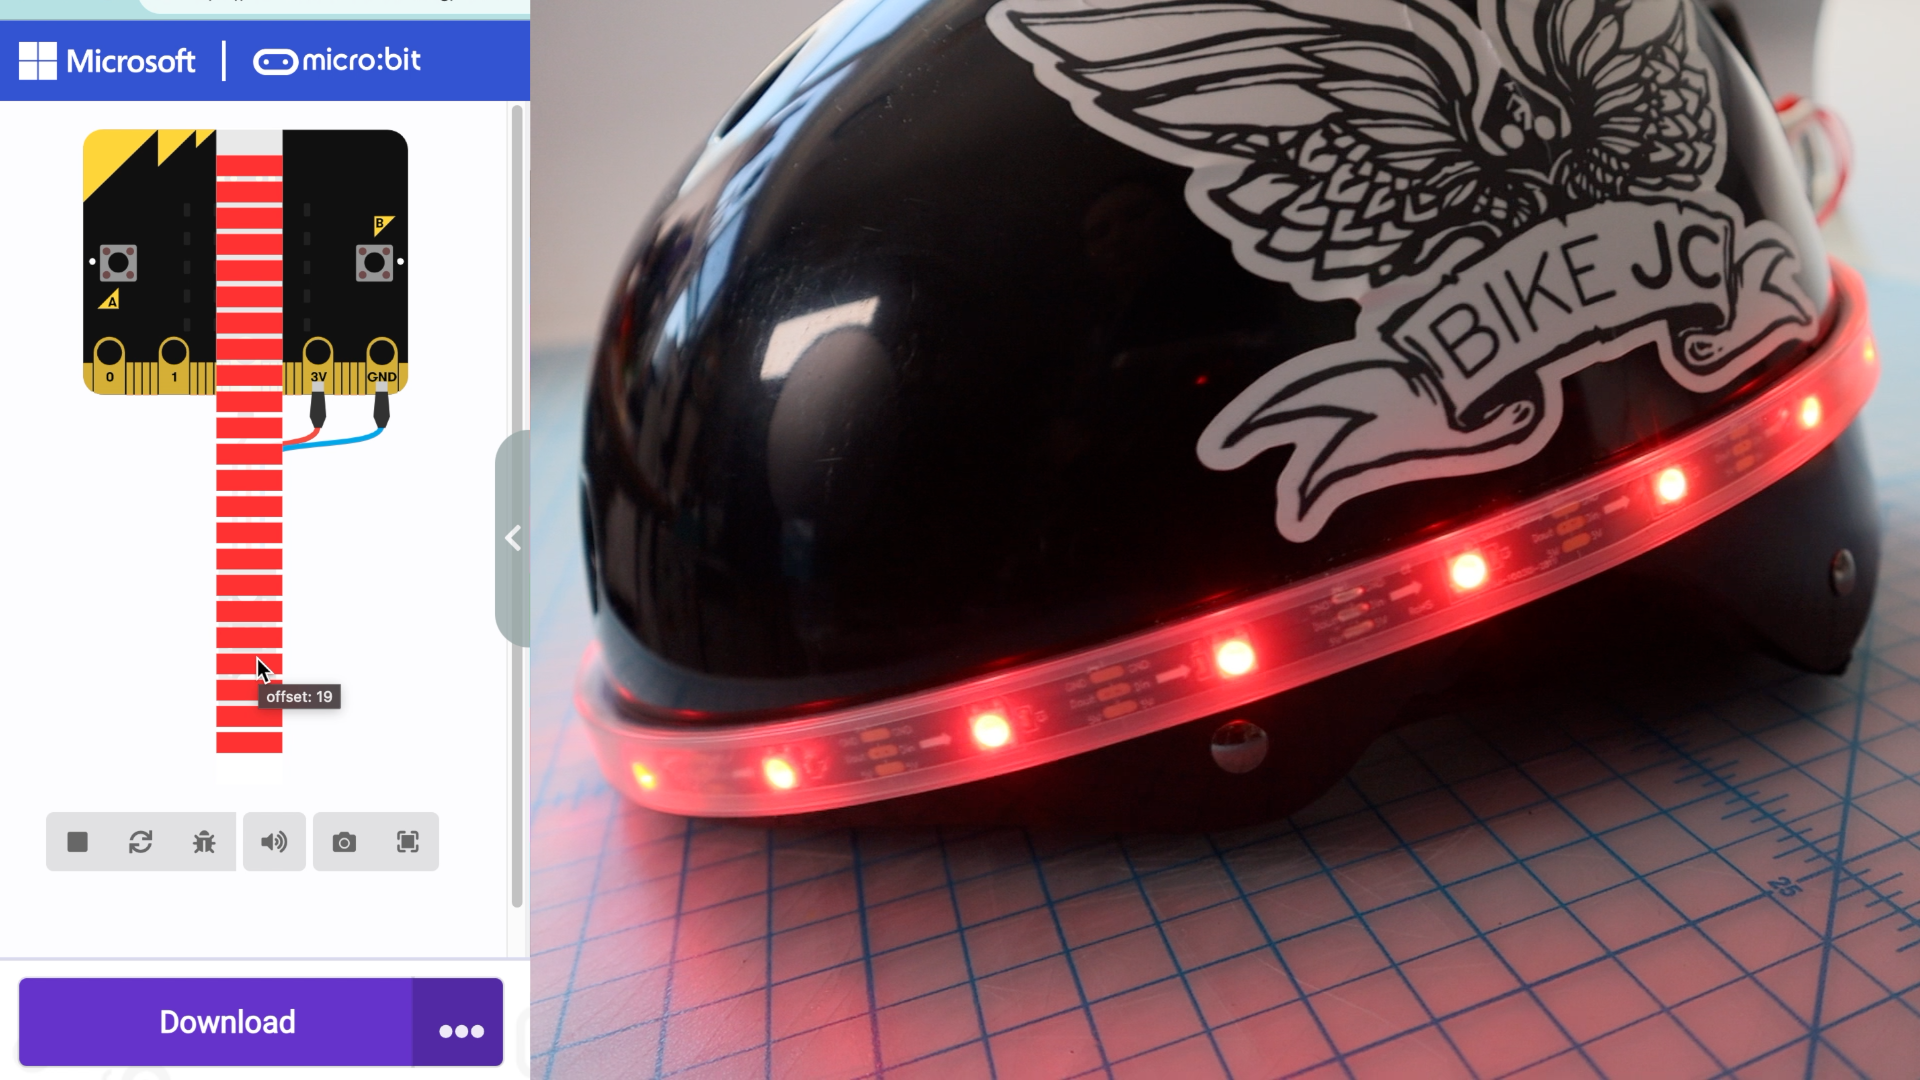
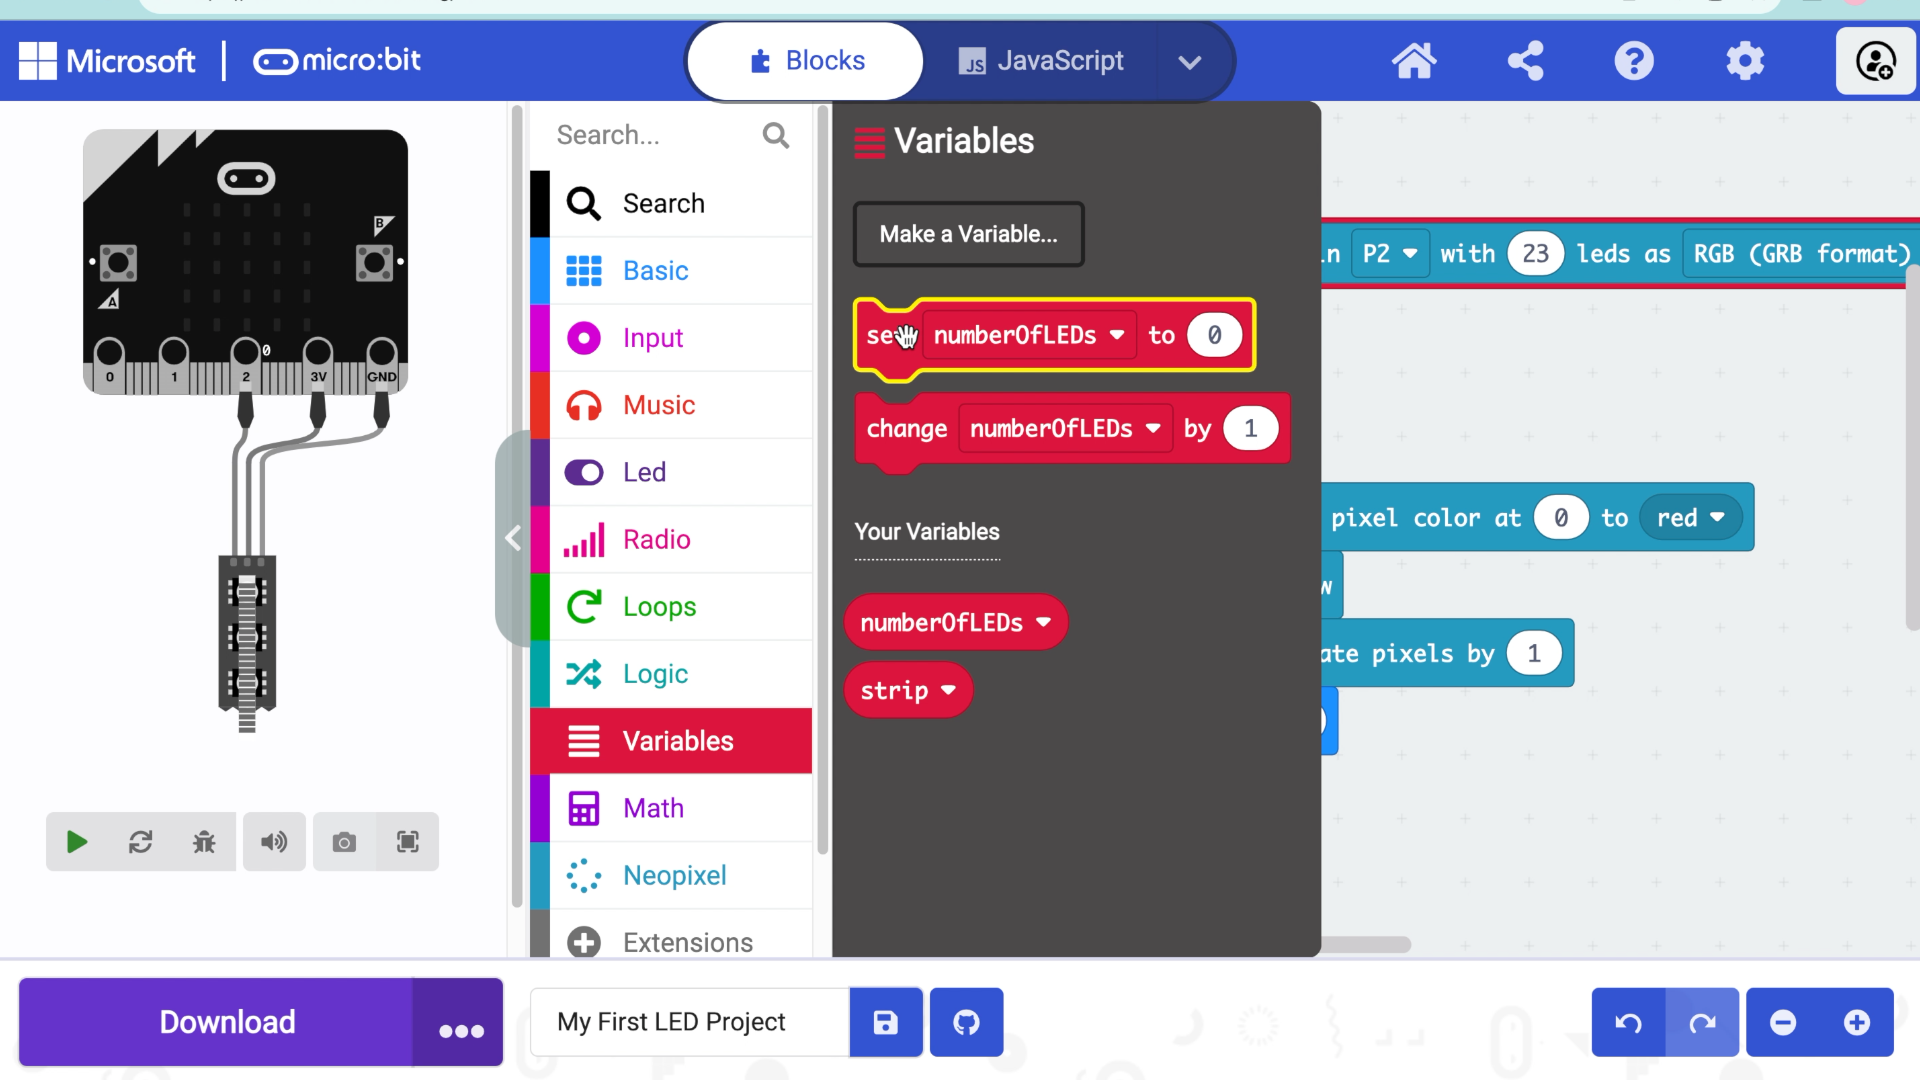
Since the number of LEDs on the strip is an important piece of information to keep track of when designing pixel animations, I'll go over how to store that information in a variable. This not only helps with remembering what the number is, but lets us reuse this value throughout the code.
Reorganization time!
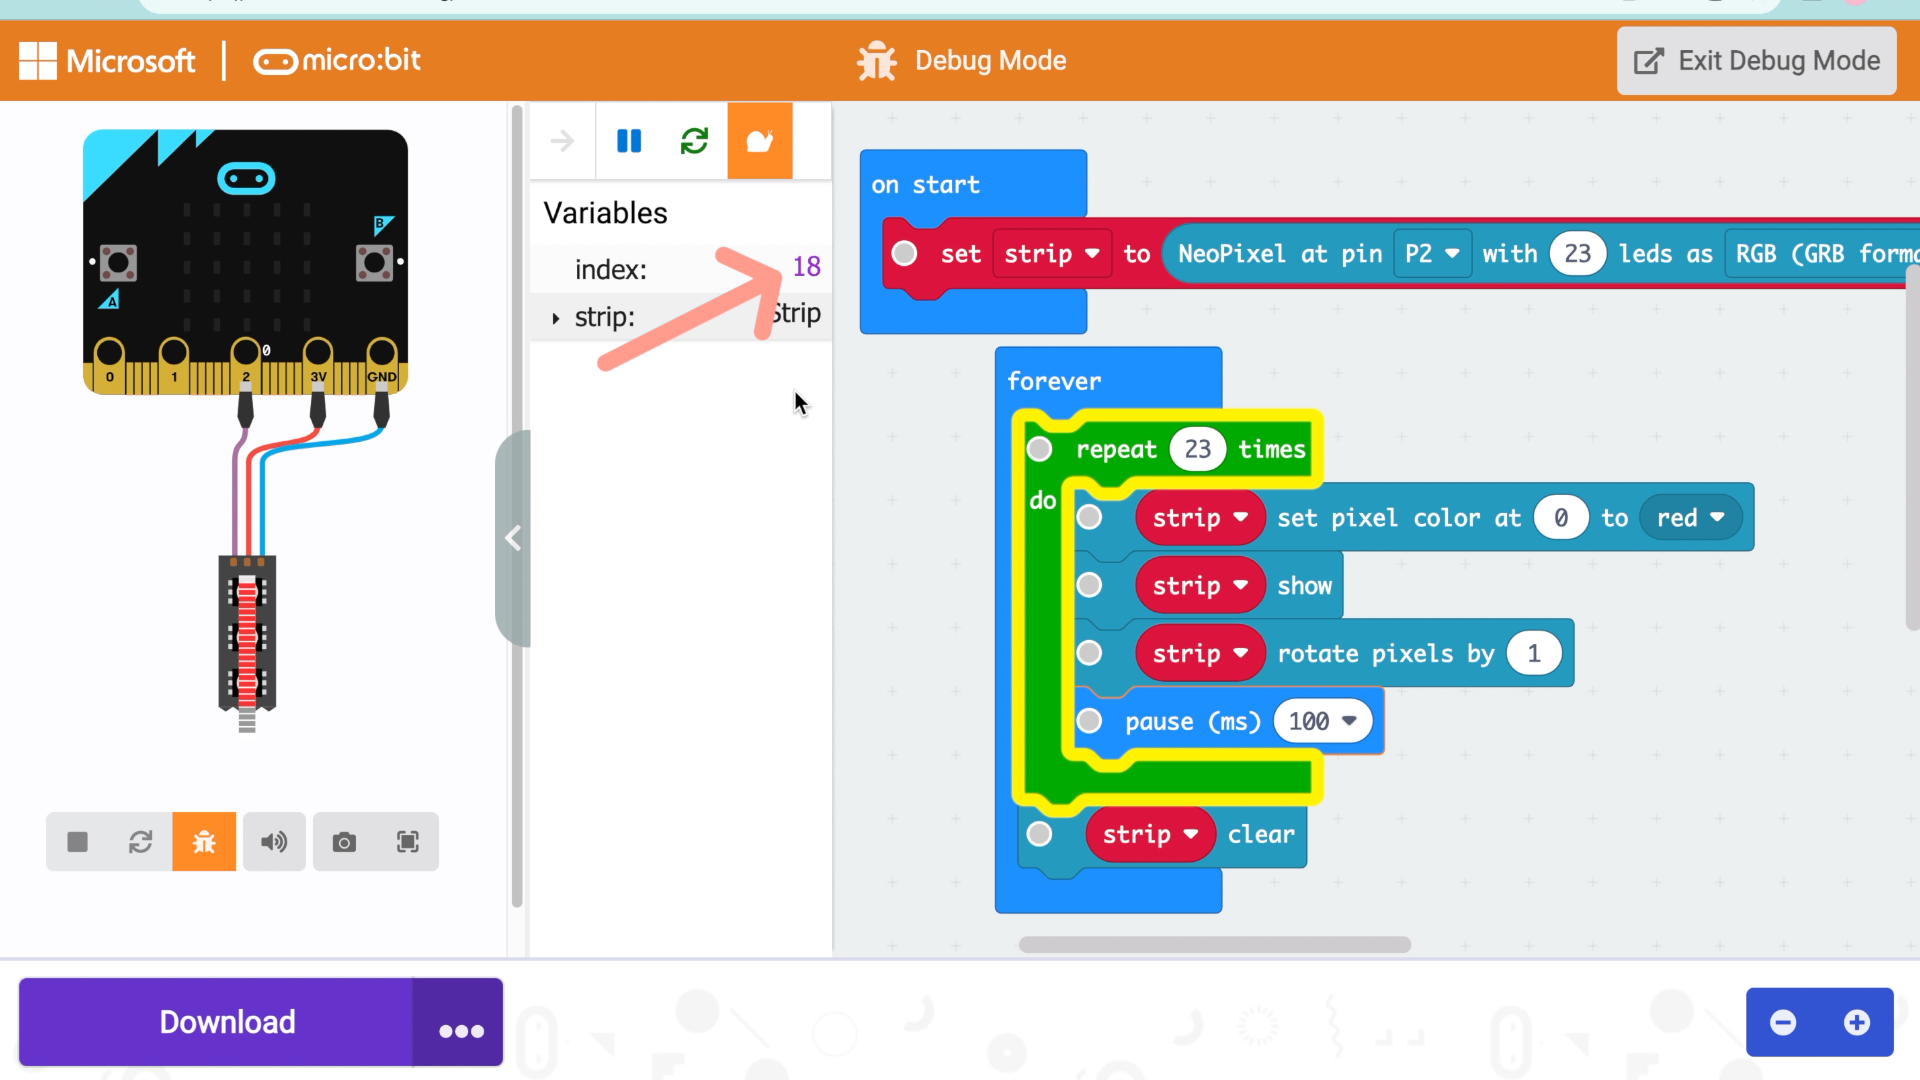
The next step is structuring the code so that we can set up and animate the pixels in the forever loop. I add a repeat loop inside the forever loop to repeat the rotation of pixels, and go through a few examples of why and how that works.
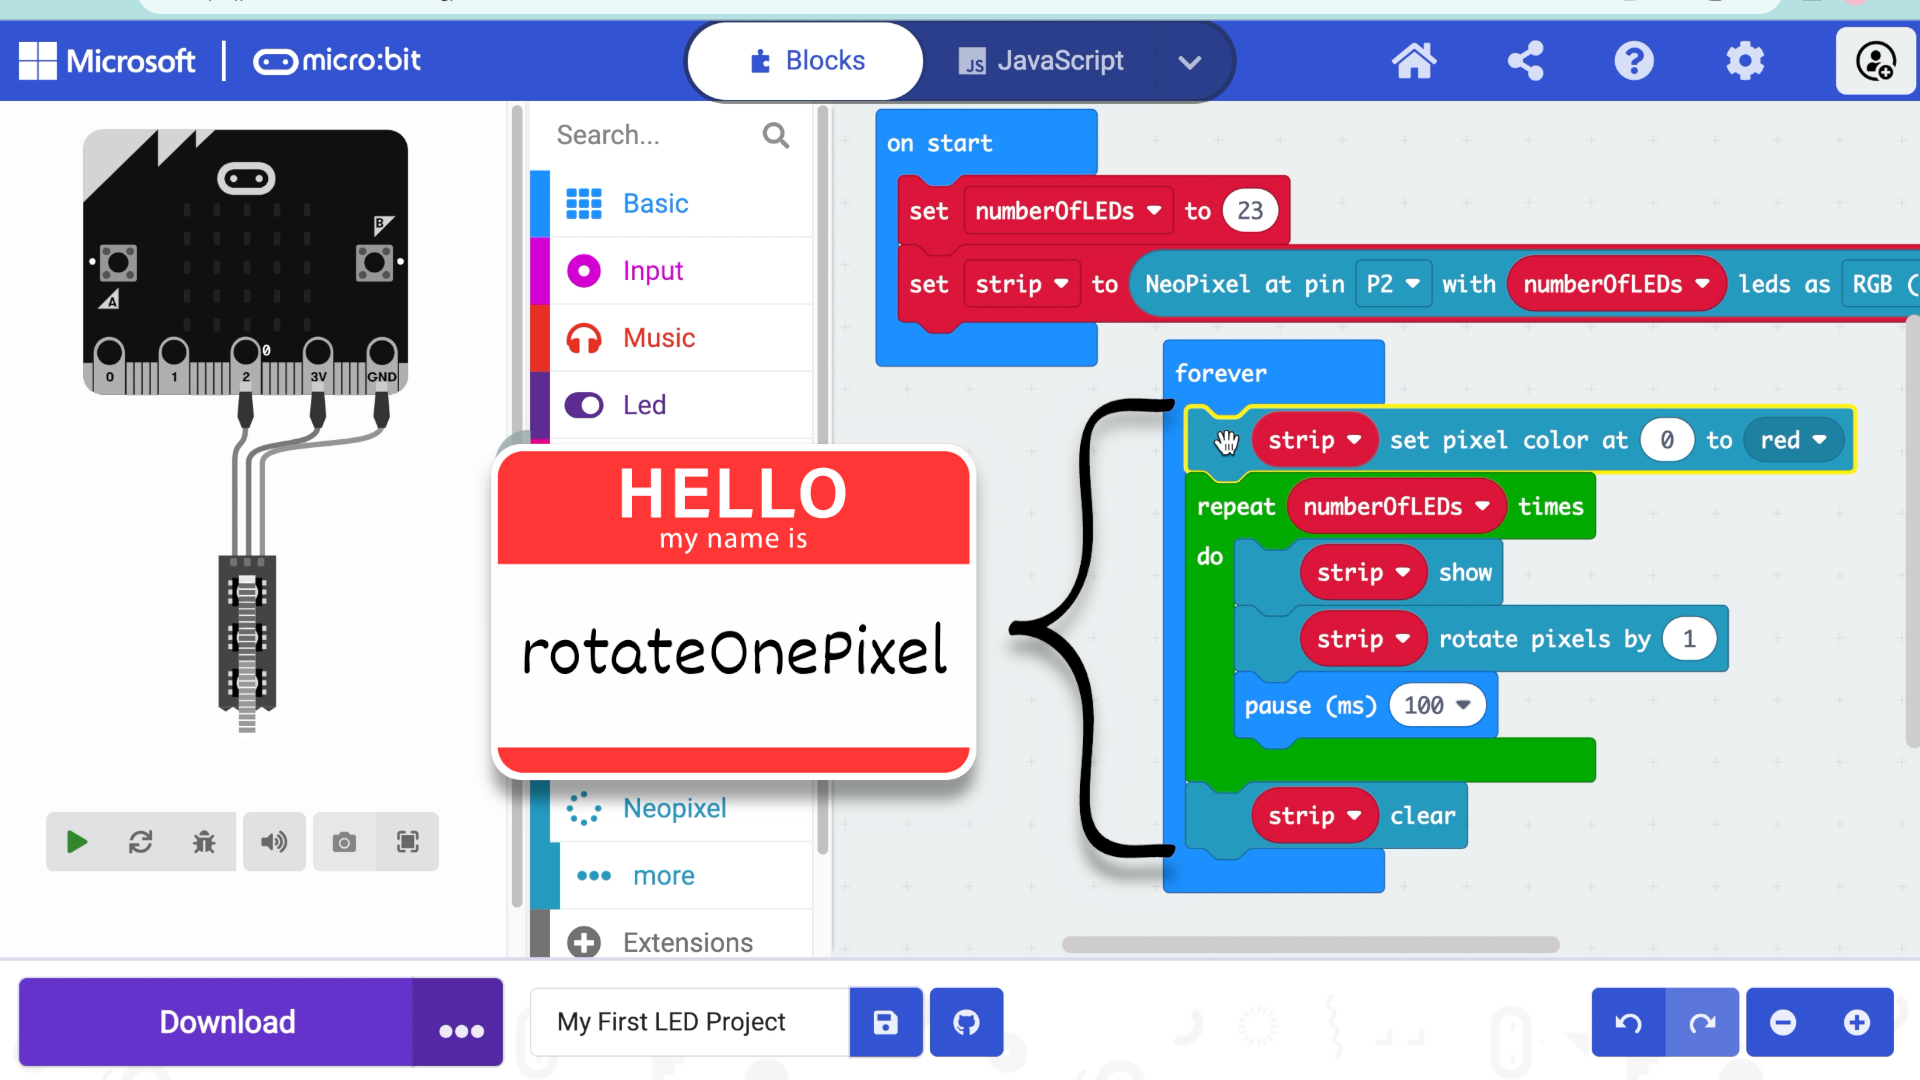
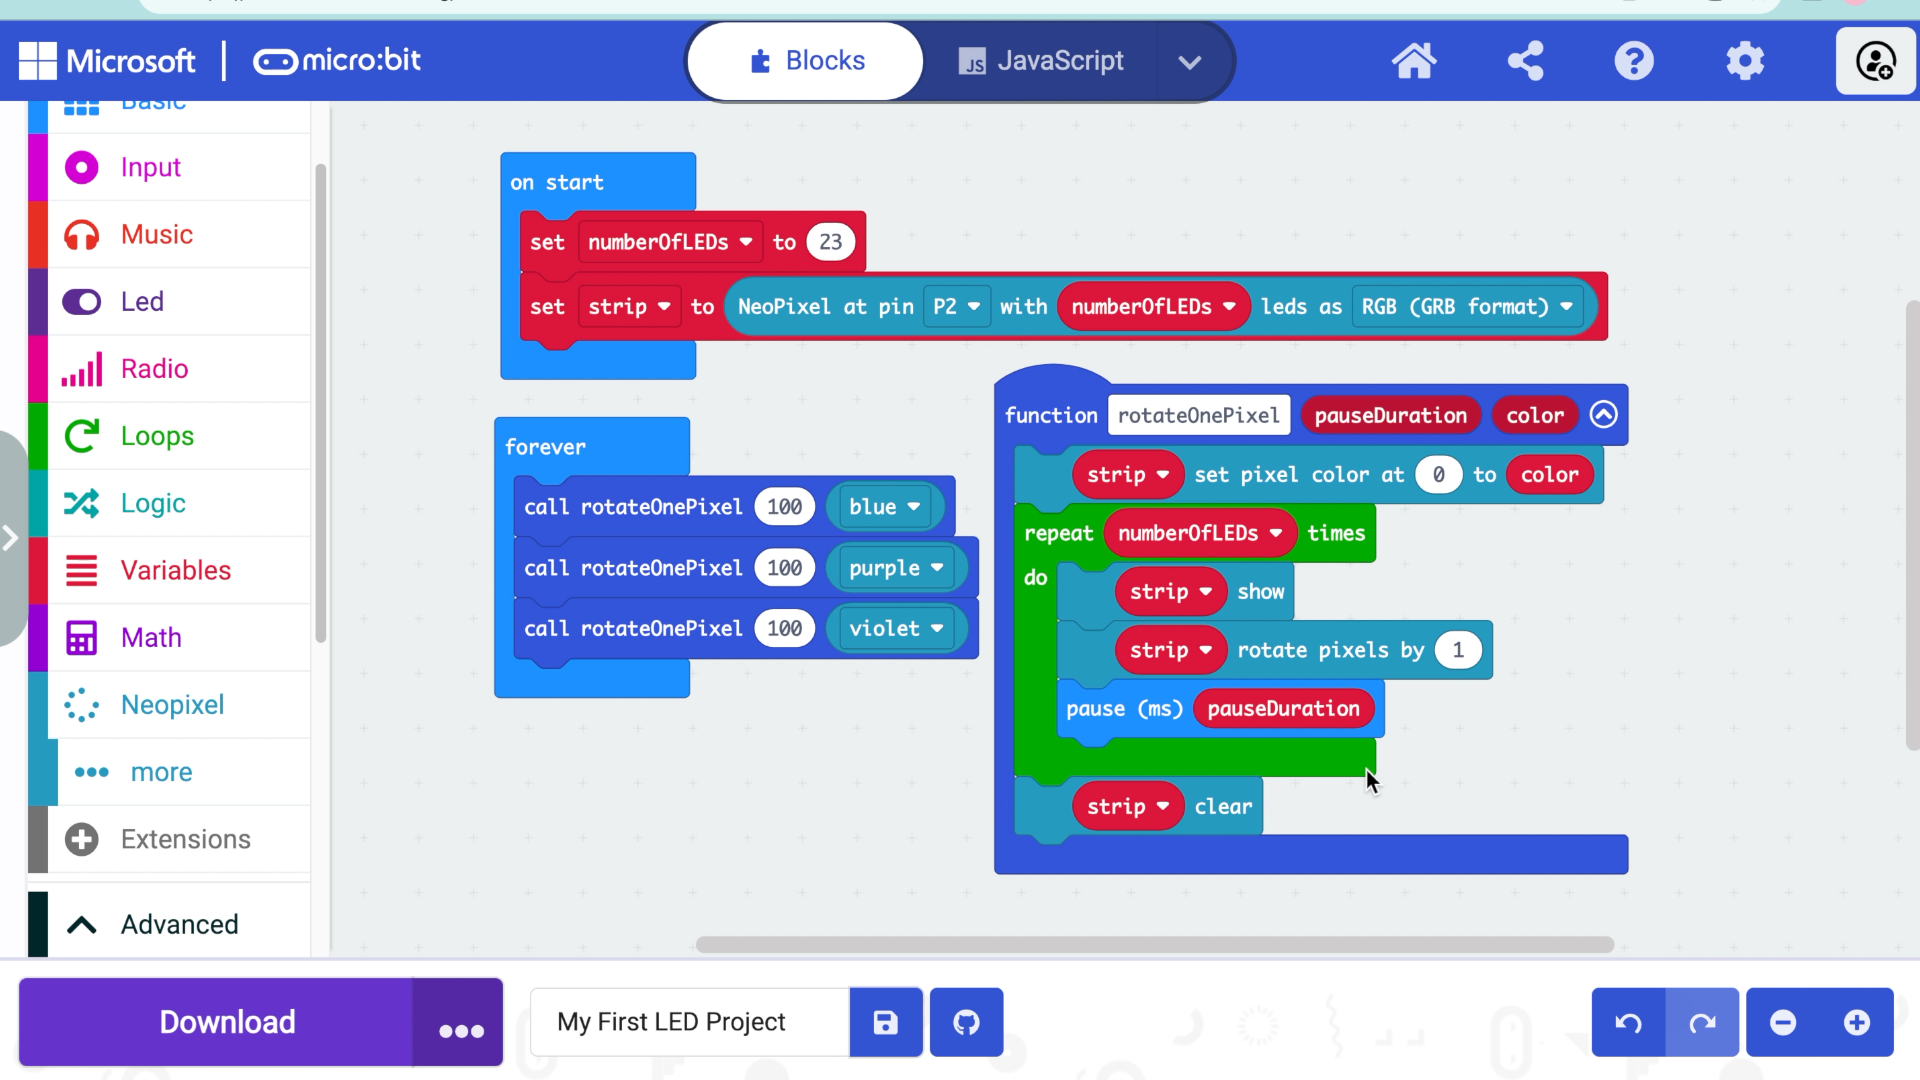
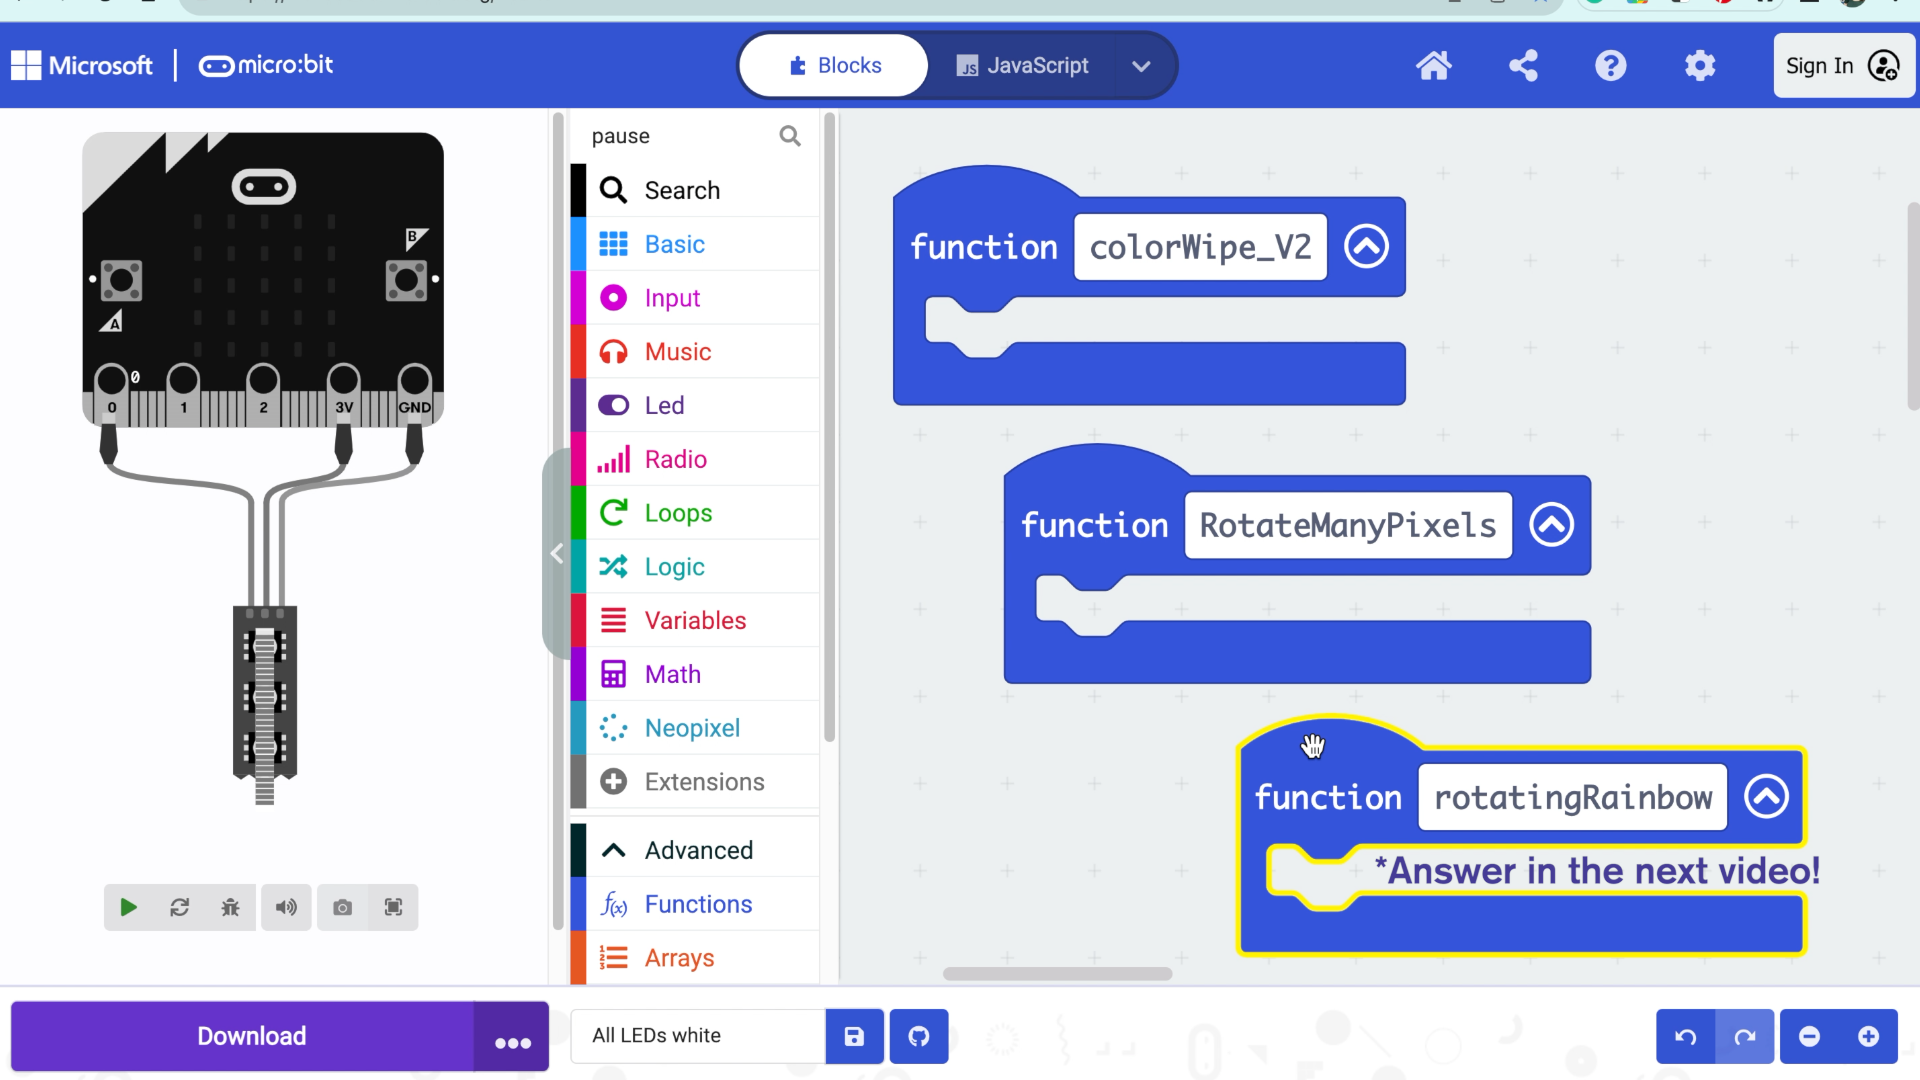
Then, to organize and reuse the code, I create a function. Functions are a way of giving sequences of code a name so that they can be reused. So, instead of repeating a bunch of blocks, I can just call the function instead. After setting it up, I add parameters to alter the speed and color of the pixel animation inside the function each time it's called!
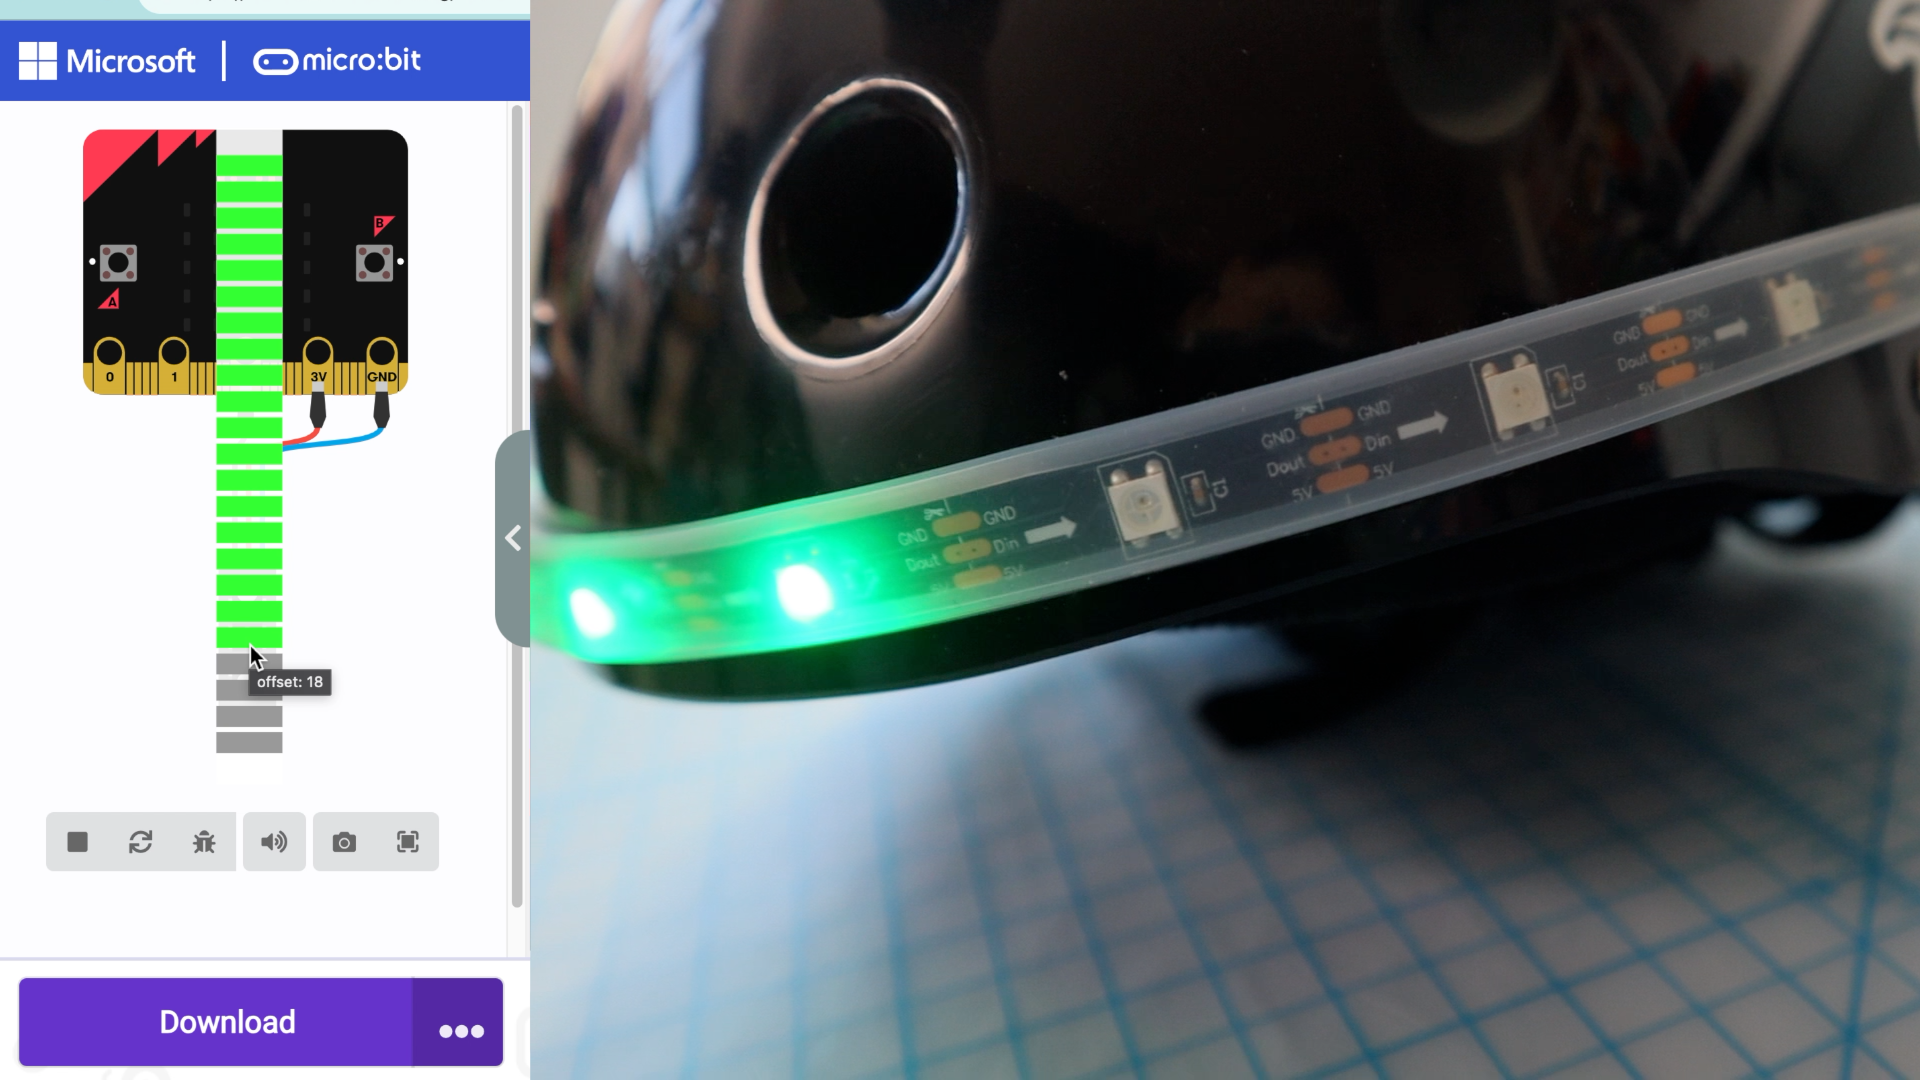
Next it's your turn! I show you how to duplicate a function and tweak it to create a new animation - like changing the "rotate one pixel" function into a "color wipe" across the NeoPixels. Your challenge is to duplicate the function and make it do whatever you want!
What will you create?
Watch the full video now:
How did it go?
What animations did you make? Do you have an idea but don't know how to start? Comment below or join the Discord channel to share your questions and ideas.
See you there!
