LED Filament Sculpture: Made with Copper Wire, LED sticks, and a lot of Patience.
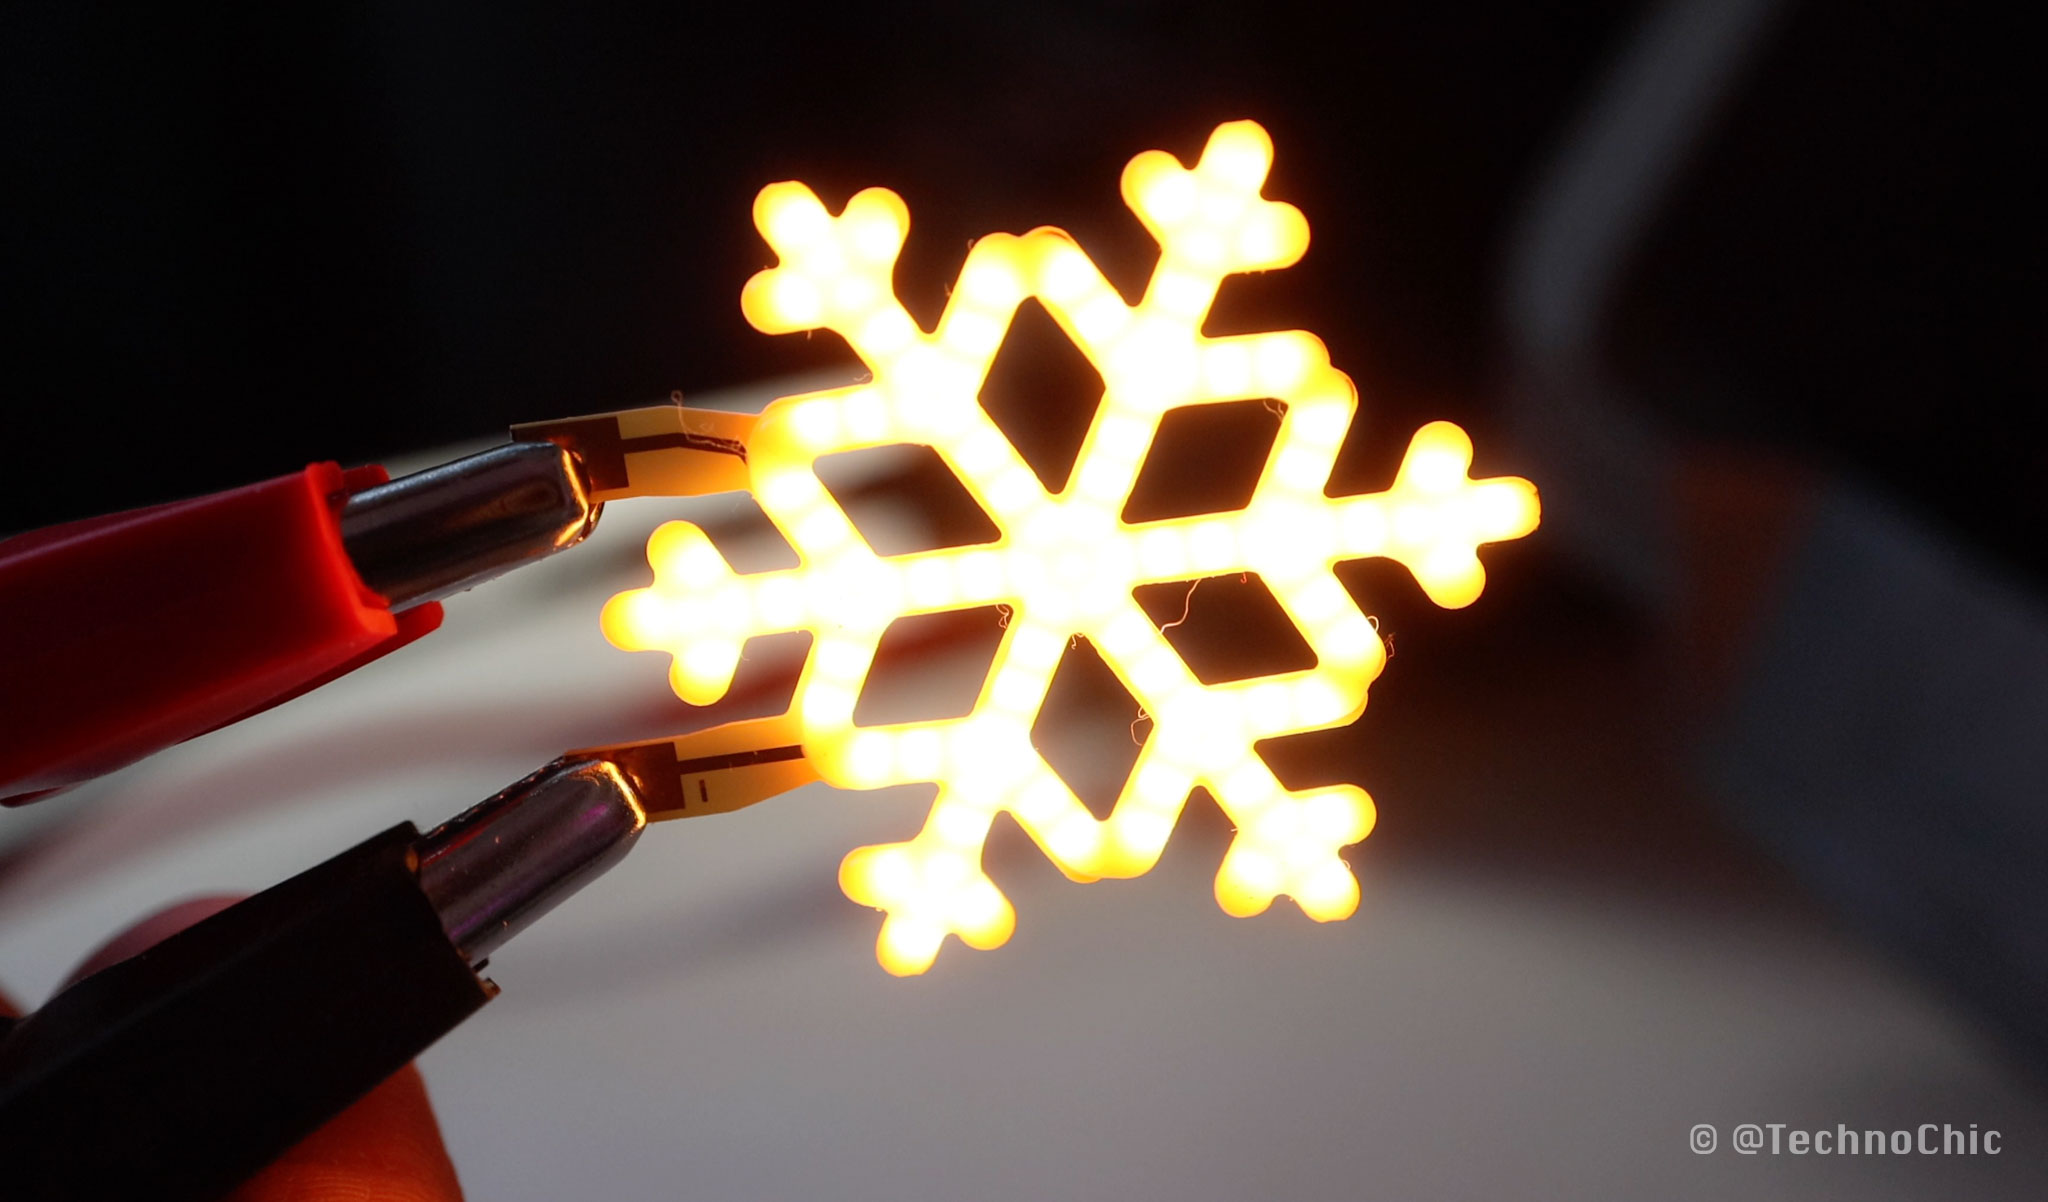
I made an LED circuit sculpture - with LED filament! This project was inspired by a tiny LED snowflake - and when I saw it I had the idea to make a much larger version.
I’ve never made a circuit sculpture but I’ve always wanted to, so I thought this was the perfect project to figure out how to connect components with bare wire and play with what LED filament could do.
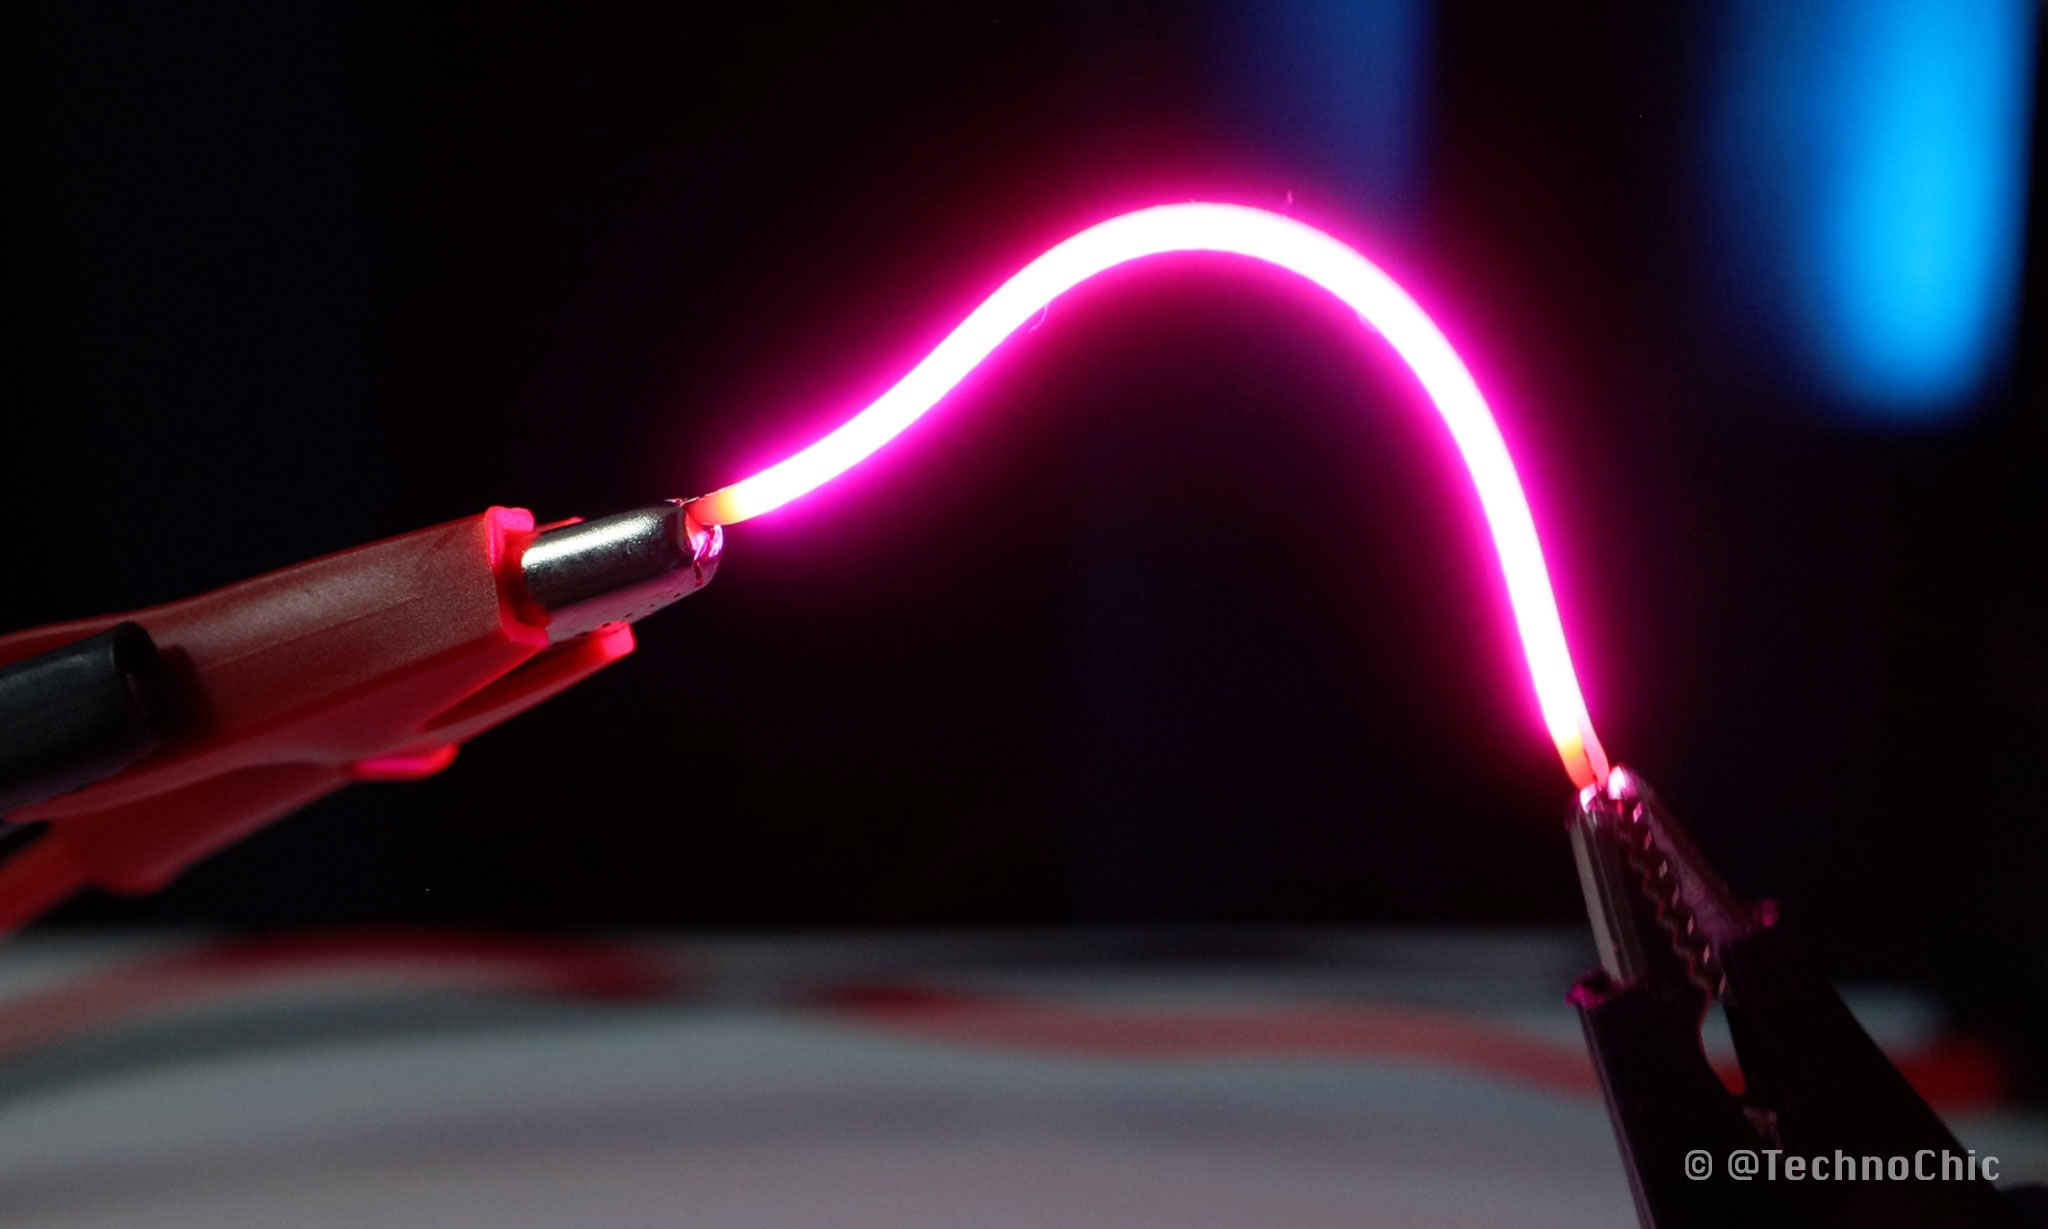
Although they look like a glowy neon light and they’re called LED filament, LED noodles actually aren’t filament at all -- they’re a string of tiny LEDs placed so close together that they look like a continuous line.
They come in different lengths and colors, and a lot of makers refer to them as LED noodles since they’re so noodle-like!
Most LED filaments are flexible, but when I ordered this pack that wasn’t, that’s when I realized they would provide the structure to make my circuit sculpture design possible.
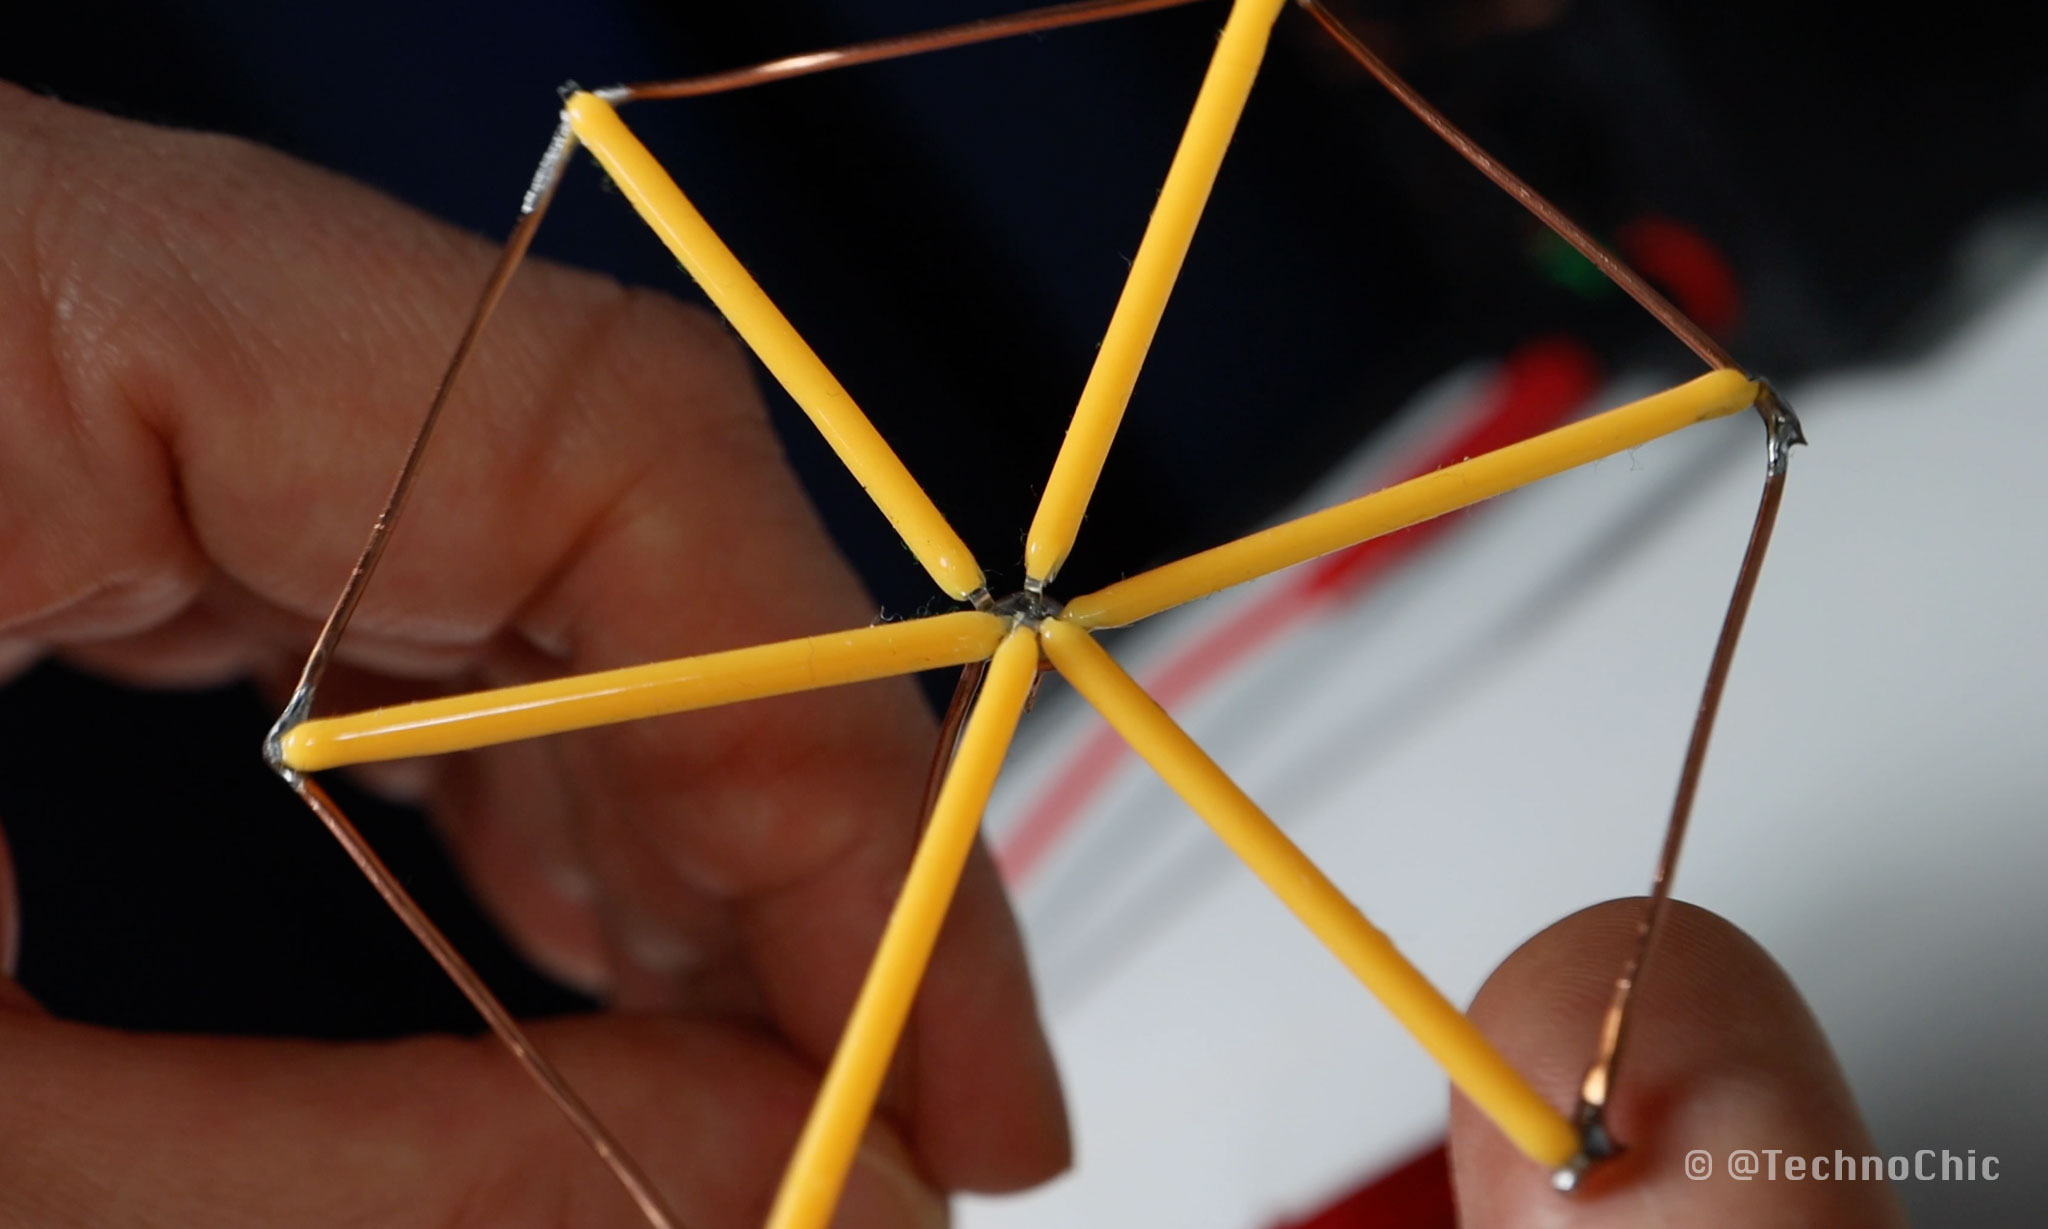
I made this little sample star shape by connecting the negative sides of the LEDs together in the center and running a trace of copper wire around the outside to create this spoke - like shape.
So I started to tinker and play with different snowflake shapes using the LED sticks - I was looking for something aesthetically pleasing, and that I could wire up to illuminate and control each element of the design separately.
I grouped the LEDs together into rings, then I made a common ground between pairs of two adjacent rings so that I could run less wire through the sculpture. I would have to be very careful of polarity when placing the LEDs, but this reduced the amount of wire and ground connections that I would need.
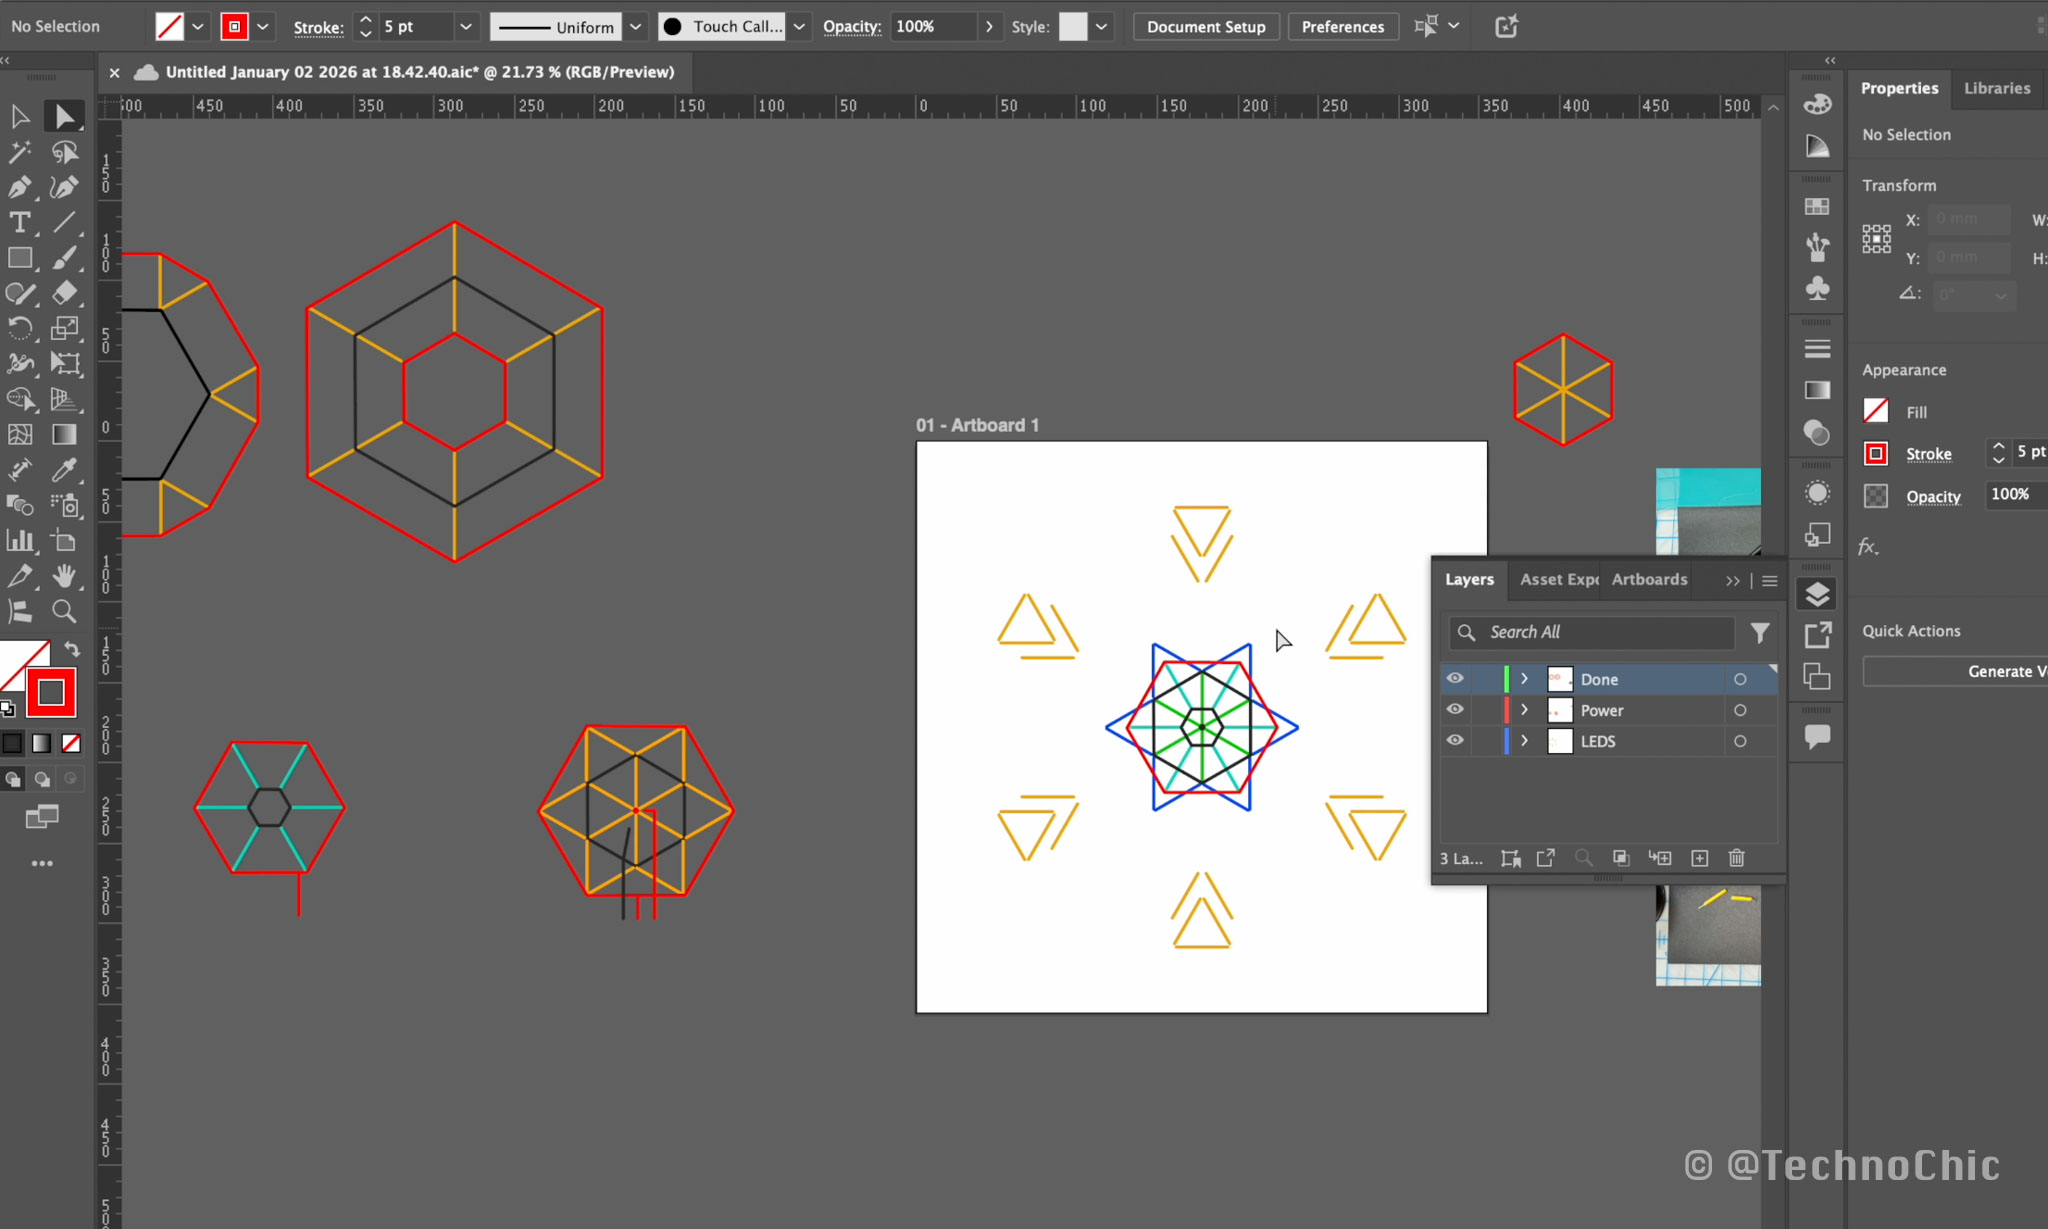
I created trace diagrams in Adobe Illustrator to serve as templates to shape the wire - but with all this complexity and the amount of connections I needed to make, my brain felt like jelly!
I printed them and told myself to trust the process.
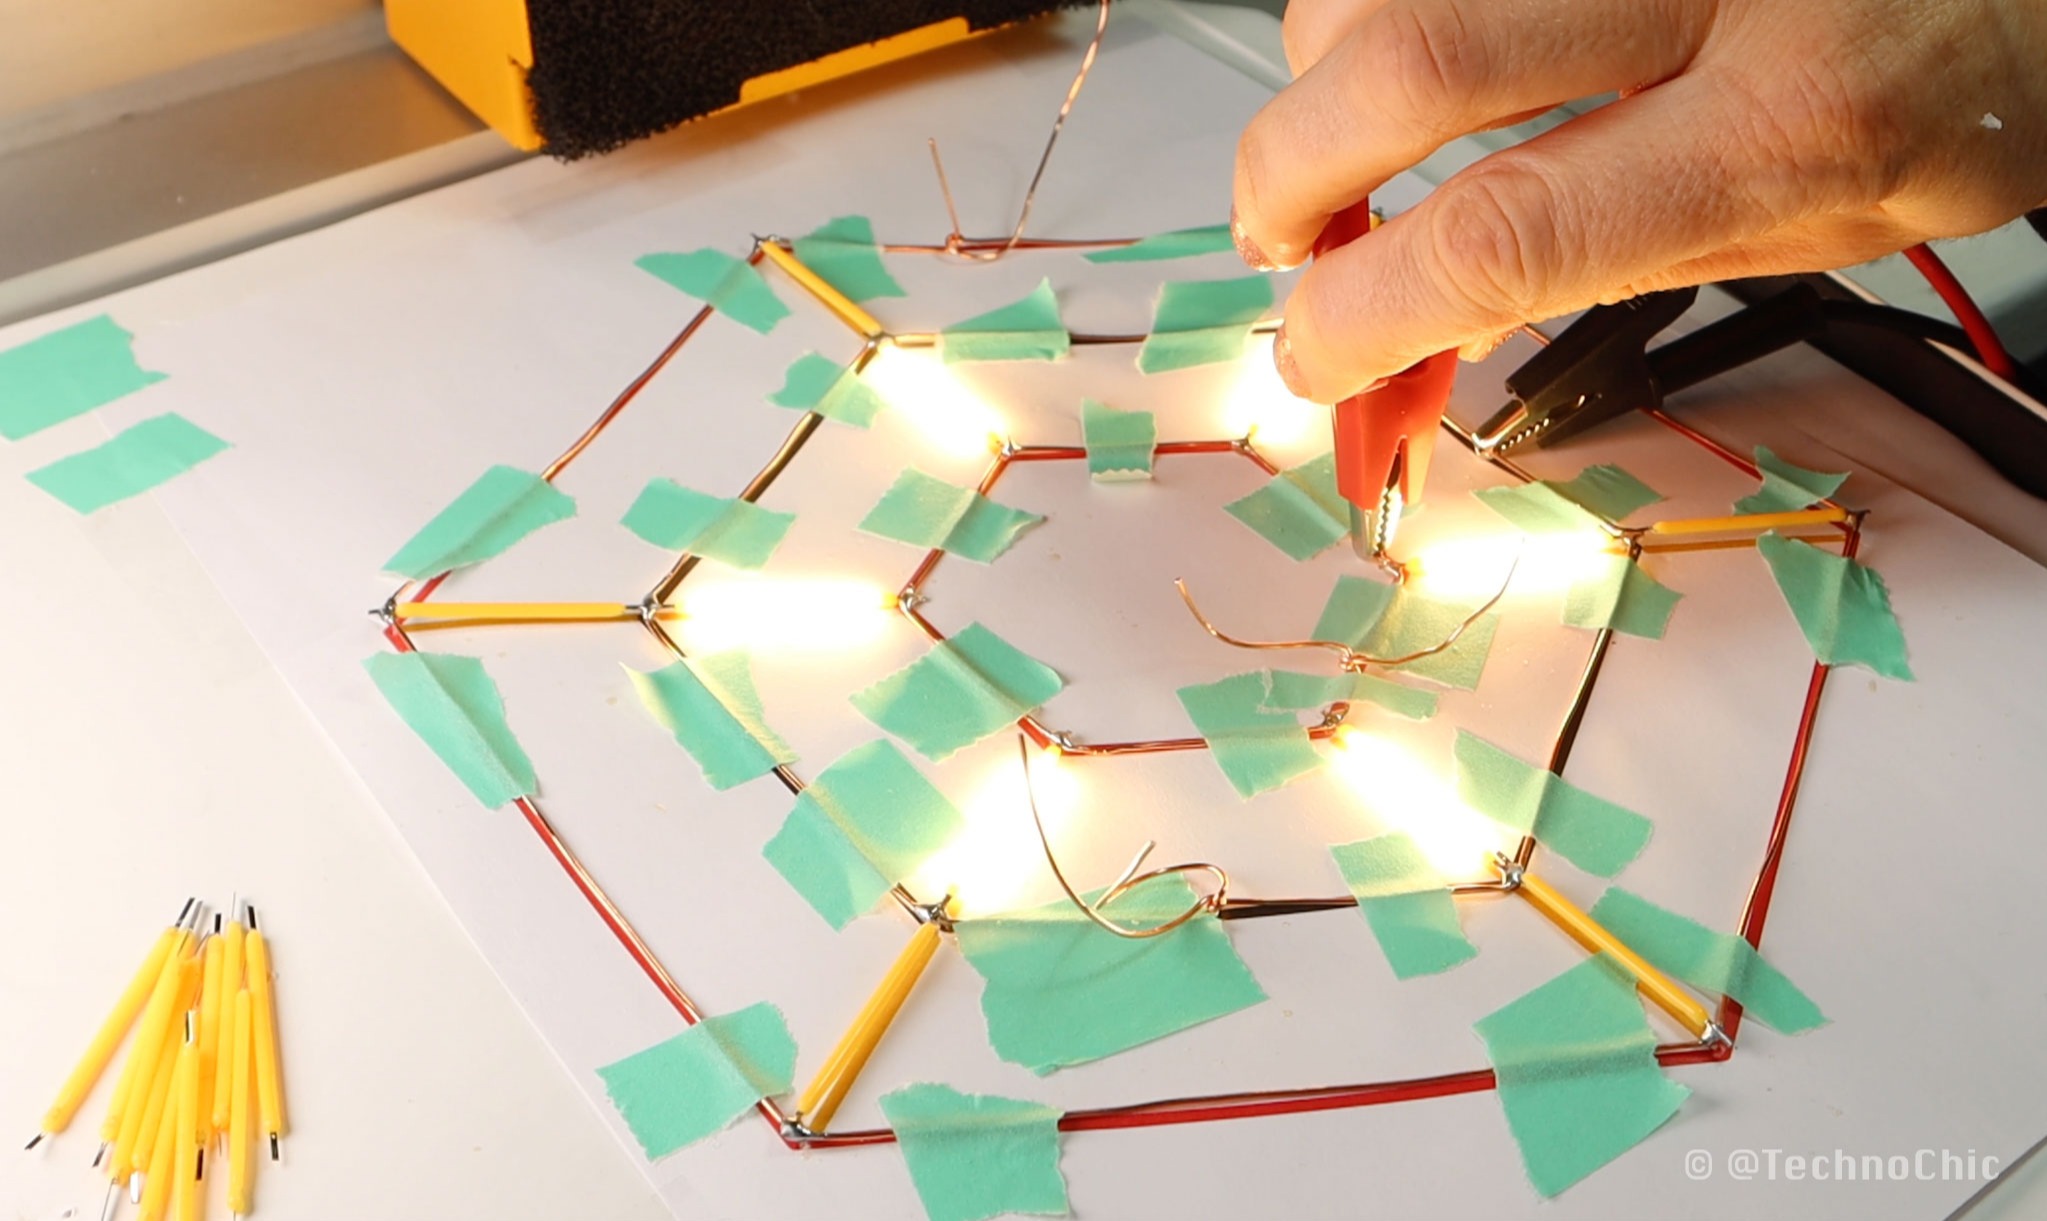
I created a sort of jig from a piece of foam board and some map pins to help shape the wire.
Now, it was time to solder. You can tell the positive and negative sides of the LEDs apart because one of the wires has a small hole in it and that lets you know if it’s positive or negative - which is which? Well…. It seems more typically the hole is on the positive side, but it depends on the batch and manufacturer.
 I worked my way through each layer slowly, and then it was time to put it all together. I made a little separator out of some cube magnets to better position the layers, and soldered the ground wires together between layers first.
I did groups of 2 layers at a time, and then went forth and soldered those groups together to make one ground that ran through the whole snowflake. In the end, I only ended up breaking and replacing 4 or 5 LEDs, which was less than I anticipated. Score!
I worked my way through each layer slowly, and then it was time to put it all together. I made a little separator out of some cube magnets to better position the layers, and soldered the ground wires together between layers first.
I did groups of 2 layers at a time, and then went forth and soldered those groups together to make one ground that ran through the whole snowflake. In the end, I only ended up breaking and replacing 4 or 5 LEDs, which was less than I anticipated. Score!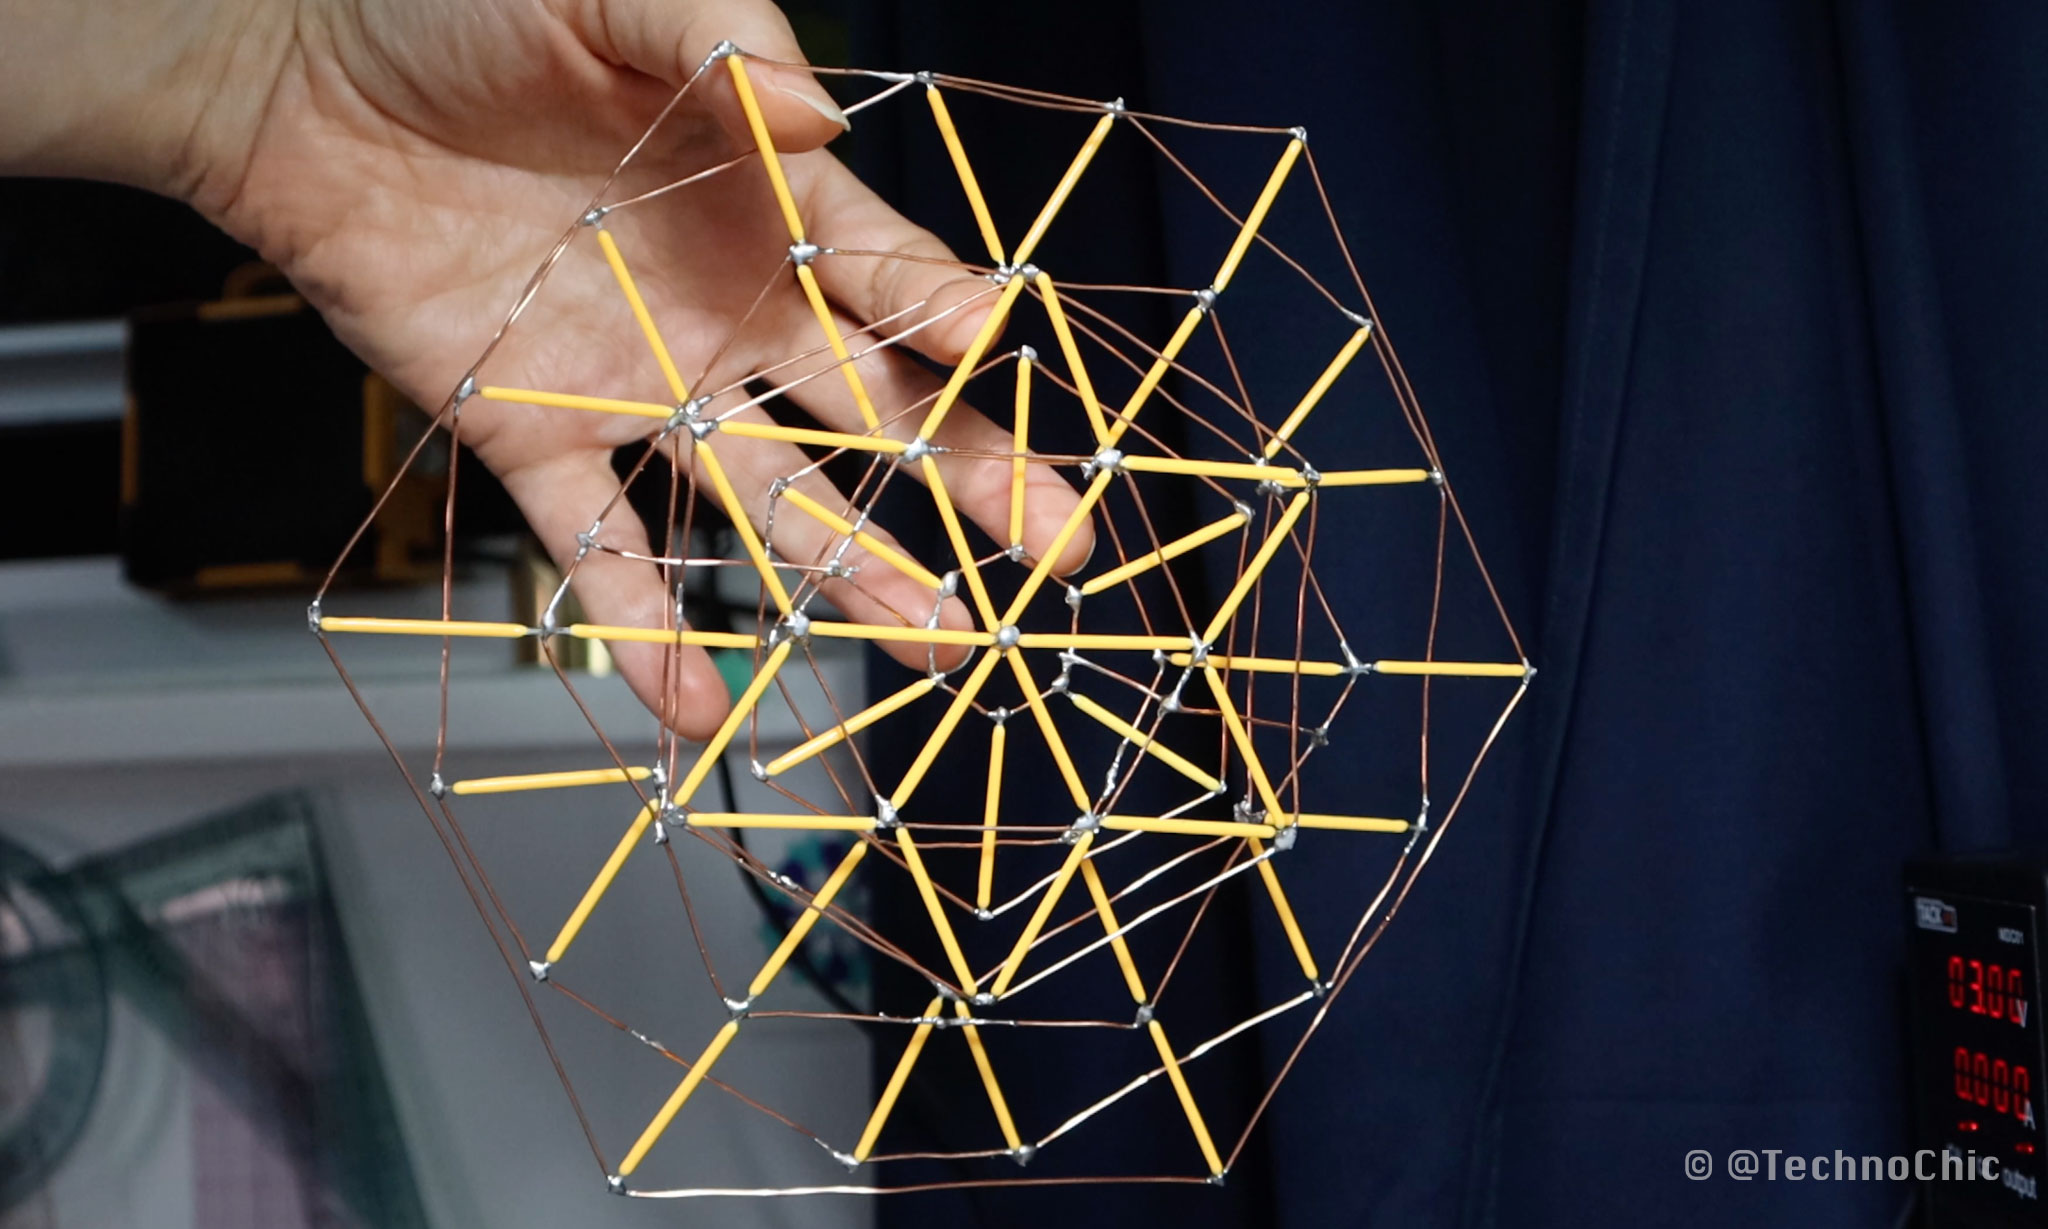 I connected it all to a wooden block that I had in my studio to make a base for the project, so I connected it all together with a perf board screwed to the top. Now I can turn on each individual snowflake layer by connecting it to power!
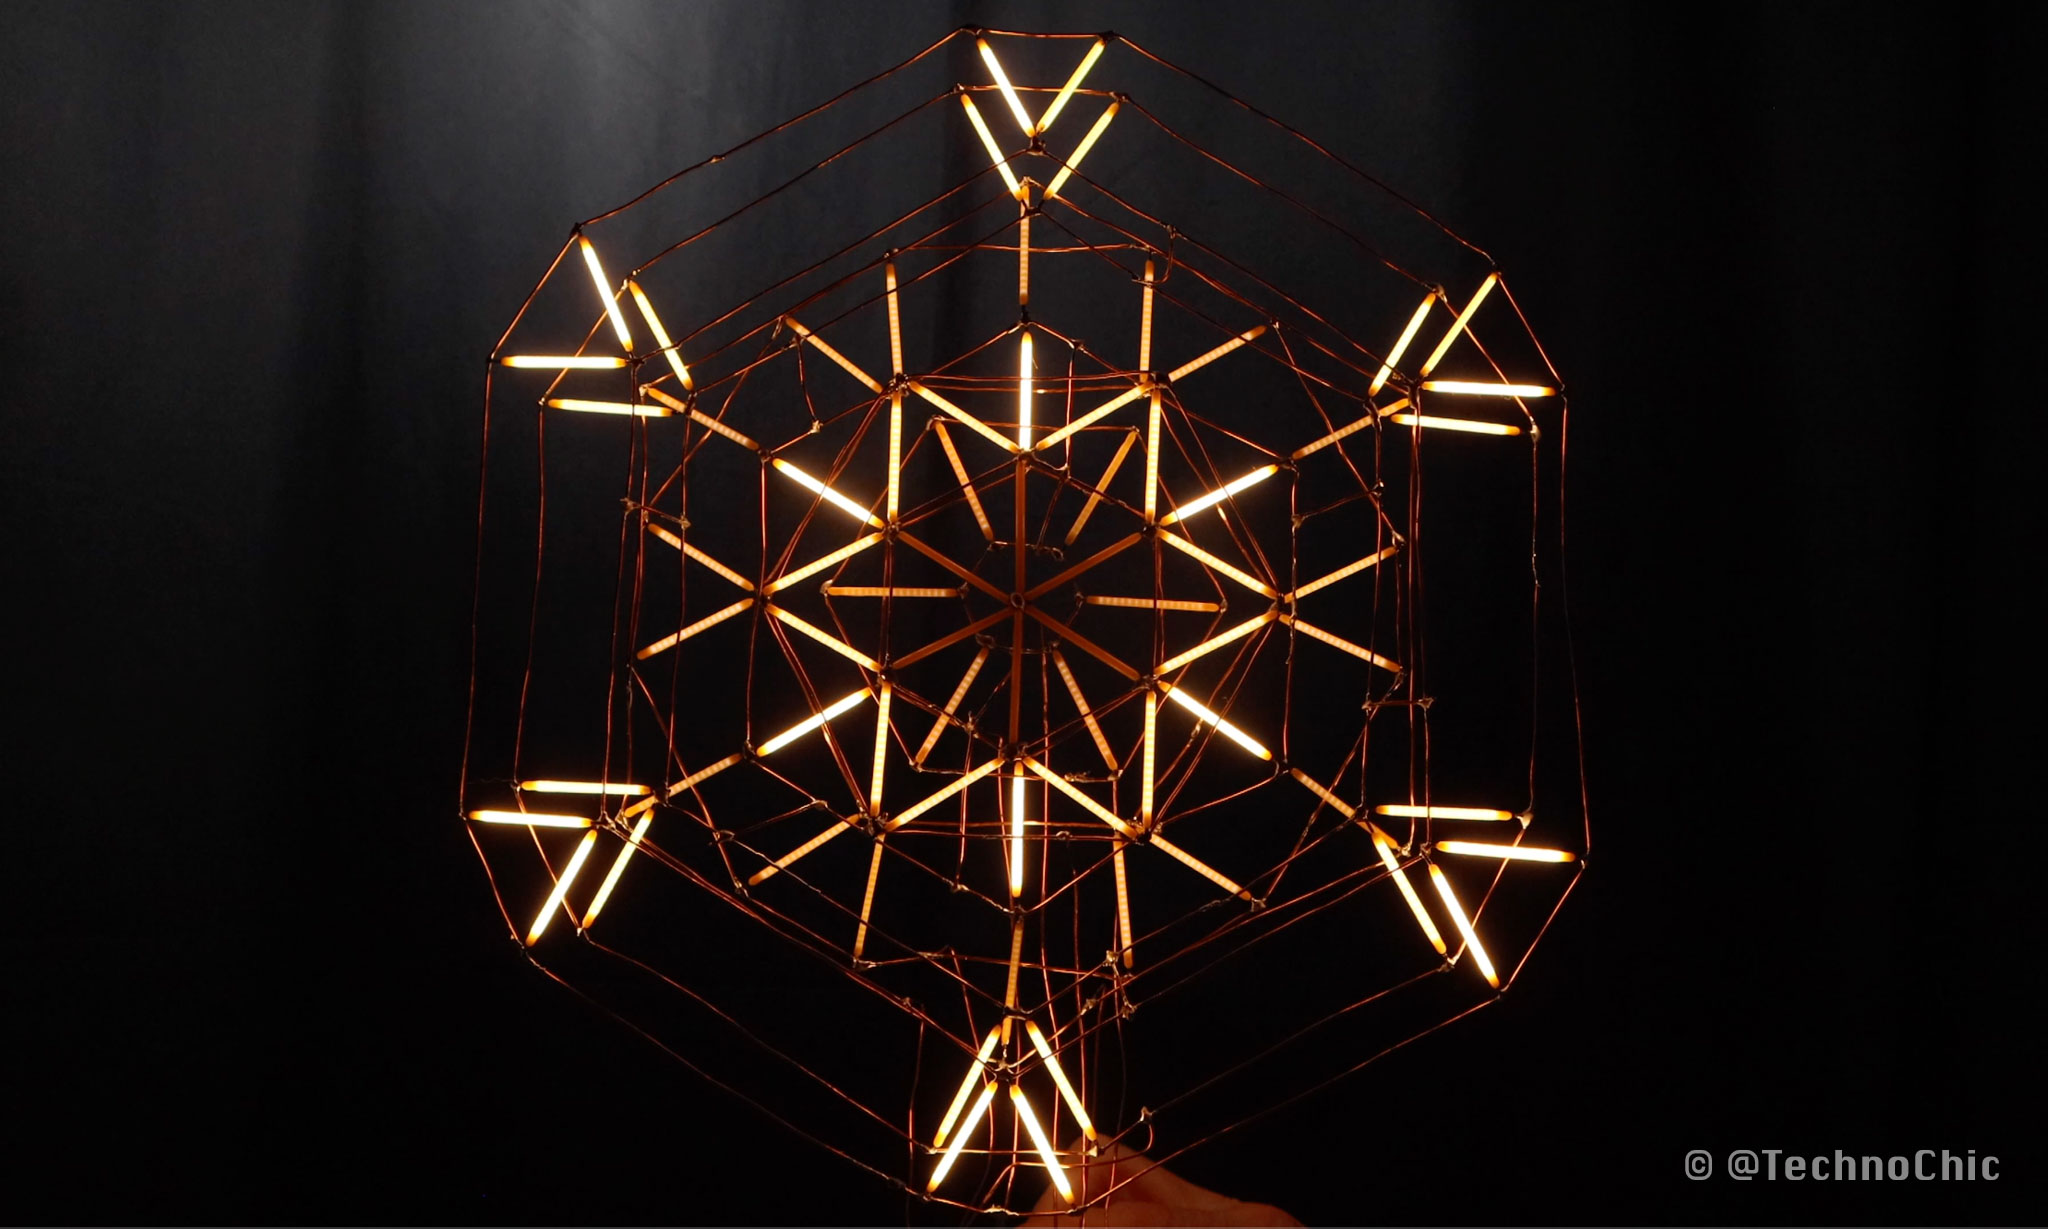 What's next? I definitely want to create some LED animations, but I'm not sure what I want to do exactly. I could use micro:bit or arduino to create animations that sync to audio, or now that I see how elegant it is, I might want to use it for a different type of data visualization.
 What do you think I should use to animate this? What would you do?
Please let me know in the comments, and I’ll show you what I decide to make in my next video so be sure you’re subscribed so you can see the finished result!