

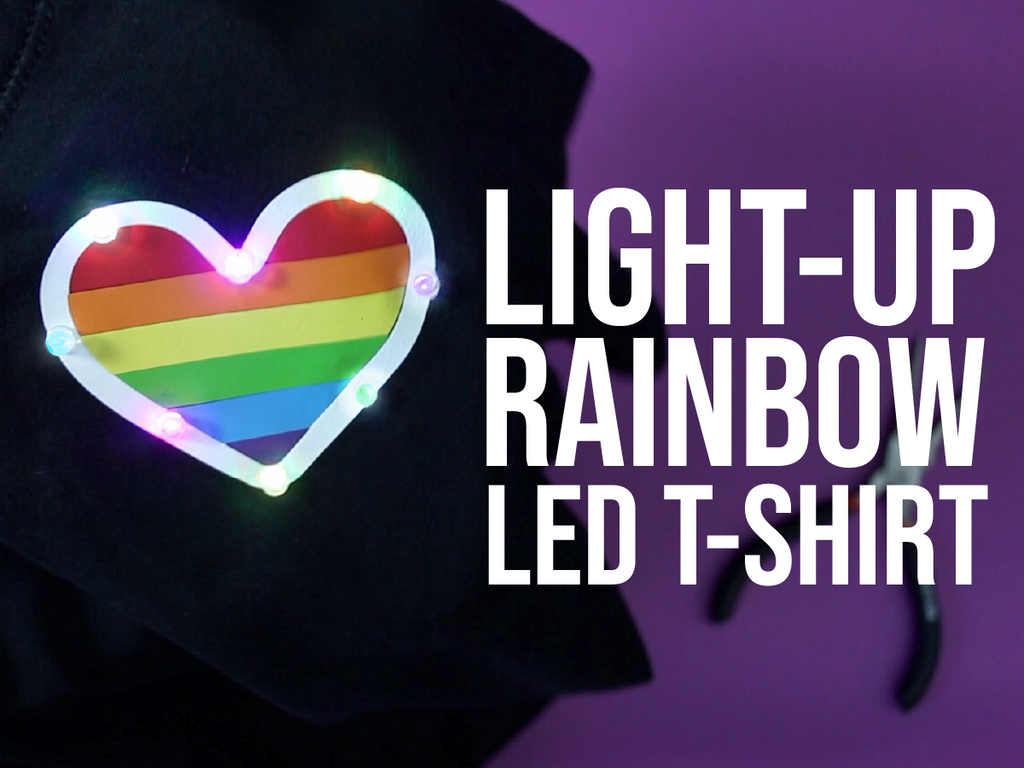
A rainbow heart sewable circuit!
♥️💜💙💛💚
I taught this as a workshop at ITP Camp this week and the project turned out really nice so I thought I would share it here too! This is a sewable circuit project using the "staple" method of connecting LED lights to fabric.
Benefits of the "staple" method:
-
There are no circuit elements visible on the front of the shirt except the heads of the LEDs, which in this case are flat tops so they look like sequins. This makes the shirt look more elegant - especially in the daytime when you are not using the lights.
- Thru-hole LEDs are inexpensive compared to "sewable" LEDs.
- The LED legs are folded around the conductive thread, creating a strong, solid connection that won't untie itself. This is especially good for beginners who may not be great at tying knots, so they can have a successful circuit!

Materials & Tools
- The Sewing Circuits Kit
- Embroidery Hoop
- Scissors
- Needle Nose Pliers
- A blank t-shirt to add the heart design. Or, a t-shirt that already has a design that you want to add LED lights to.
- Materials to make the rainbow heart design:
- T-shirt vinyl (I got mine from Amazon)
- A craft cutter like Silhouette Cameo or Cricut cutter
- An iron and ironing board
Download

Cut out & iron on the design
- Follow the instructions on the t-shirt vinyl for the machine settings, and cut out all the pieces of the design.
- Align the pieces onto the t-shirt so that the heart is positioned on the left breast of the t-shirt. Iron the pieces.
- Peel the backing off of the vinyl. I found this to be quite satisfying so I included a video below.


With the design finished, you're ready to sew your circuit.

Sew the circuit
Lay out the LEDs:
- Plan for where the LEDs will go. I included a map below to show you how I placed mine.
- Use your needle to create a pilot hole so that the LEDs are easy to push through the fabric.
- Add your LEDs one at a time until they are all in place.
Turn the t-shirt inside out so that you are working on the inside of the t-shirt, with the LED legs sticking up through the fabric.

Bend down the LED legs:
- Bend all of the long, "+" legs outward to lay flat against the fabric.
- Bend all of the shorter, "-" legs in the opposite direction, toward the interior of the heart shape.

Attach the battery holder:
- Sew the battery holder to the seam stitching near the shirt's armpit hole.
- Use the holes in the bottom half of the battery holder and the wires as anchors, as shown in the video.
Use Maker Tape to attach the wires and the conductive thread:
- Cut the piece of Maker Tape in half
- Remove the backing from one half and use it to make a sandwich with the battery compartment wire and a long piece of conductive tape as shown in the video.
- Repeat for the other wire.
- Using regular thread, sew the Maker Tape Pads to the t-shirt far away from each other so that they can't touch.

Route the conductive thread to the LEDs:
Now is the fun part, and you'll finally see why I call this the "staple method."

- Let's do the positive legs first. Bend each of the legs so that they are making an "L" shape. (Halfway down the leg, bend it so that it is facing perpendicular to the fabric as shown.)
- Thread your needle with the conductive thread that is attached to the positive wire coming from the battery pack.
- Using your needle, pick up a few of the strings from the t-shirt to make a tiny stitch or two to guide the thread in the direction of the first LED leg. These stitches should be no more than 1 inch apart, so make more or less depending on the size of your shirt and placement of the graphic.
- Tie two simple knots around the leg.
- Using needle nose pliers, bend the part of the leg that is facing up back towards itself and squeeze the wires together like a staple. This will "hug" the conductive thread and create a secure connection.
- Go around the circle and repeat this on all of the positive legs.
- Trim the thread close to the knot when you complete the last leg.
Now for the negative legs.
- Repeat the same process with the negative legs:
- Bend them halfway down the leg, up 90 degrees into an "L" shape.
- Thread the needle with the conductive thread attached to the negative wire.
- Make tiny stitches to guide the thread to the first negative leg.
- Repeat the staple method process until you have strung all the negative legs together.
- Trim your thread when you complete the last leg.

Turn the shirt inside out and test:
- Turn the shirt inside out and flip the switch on the battery pack to "ON"
- You should see lots of twinkling rainbow lights!
A few more things to finish up:
- Remove the embroidery hoop.
- You may want to sew or use iron-on adhesive to add another layer of fabric to cover the circuit. The LED legs sit flat but can be a bit scratchy for long-term wear. (Or just wear a layer underneath.)
Time to wear your LED t-shirt!


Kirsty Hutchison
on June 7, 2021 13:15
Quick question (probably common to all clothing based projects): how do you wash these shirts once you’ve made them?