Step 1: Pick Pieces
- Choose one bow tie, and one bow tie center. Mix and match to design your own style.

Step 2: Fold The Bow
- There are three fold lines on each side of the bow. With the foil facing you, fold the bottom line (1) backward, the middle line (2) forward, and the top line (3) backward.
- Repeat on the other side. The bow should look like two "M" shapes when looking at it from the side, like this:

Step 3: Thread the LED
- With the foil facing out, thread the LED through the center holes (A), then the two sides (B and C).
- Turn the bow tie over, then add the bow center with the foil facing up.
- Wrap the center backward, over the LED on the front, and back over the top. Thread the last two holes.

Step 4: Build the Circuit
- Bend the short wire down flat against the back of the bow, matching the angle of the bottom edge (green line). Then, fold the long wire down at the same angle.
- Insert the batter between the two wires. The long wire should be on top and the positive side of the battery should be facing up. Watch the LED light up!
- Position the battery so that the top wire ends at the center of the battery. Secure the circuit by wrapping tape around the the battery and the LED's legs. Add another piece of tape to secure the battery in place to the back of the bow, if necessary.
- Remove the paper backing from the pin and attach it, as shown.

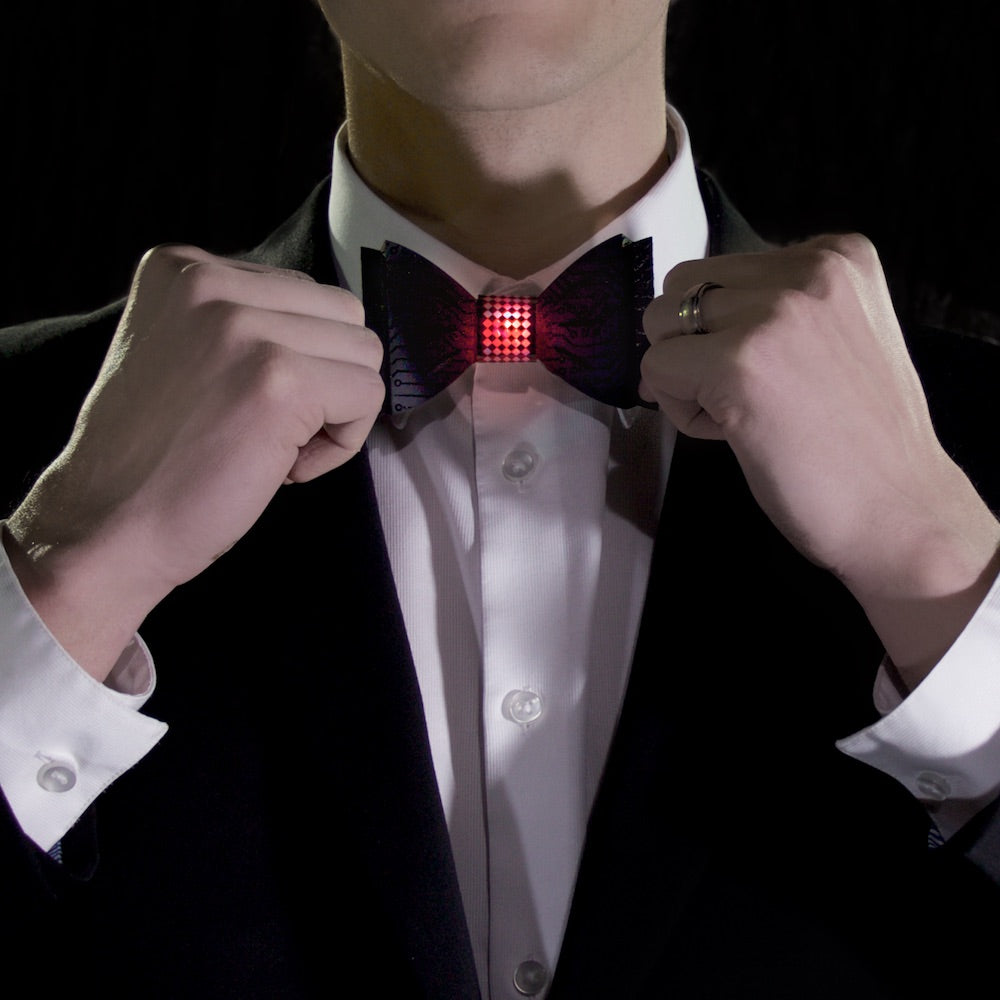
It's time to wear your flair!


They make great photobooth props or hair accessories too!


