JC Face Shield Assembly Instructions
Welcome
Thanks for purchasing a JC Face Shield. Please follow the instructions below to assemble your shield.
If you haven't purchased one yet, you may buy the shield or follow the full tutorial to make one from scratch.
You will need:
- Either a set of Nail Clippers (highly recommended) or scissors.
Assembly Videos:
Simple Design Video:
Covered Design Video:
Assembly Photos:
First, if you are making the covered design, Close the Flaps:


1) Close the top cover by folding the center flap down and securing the two side flaps together as shown:
Next:


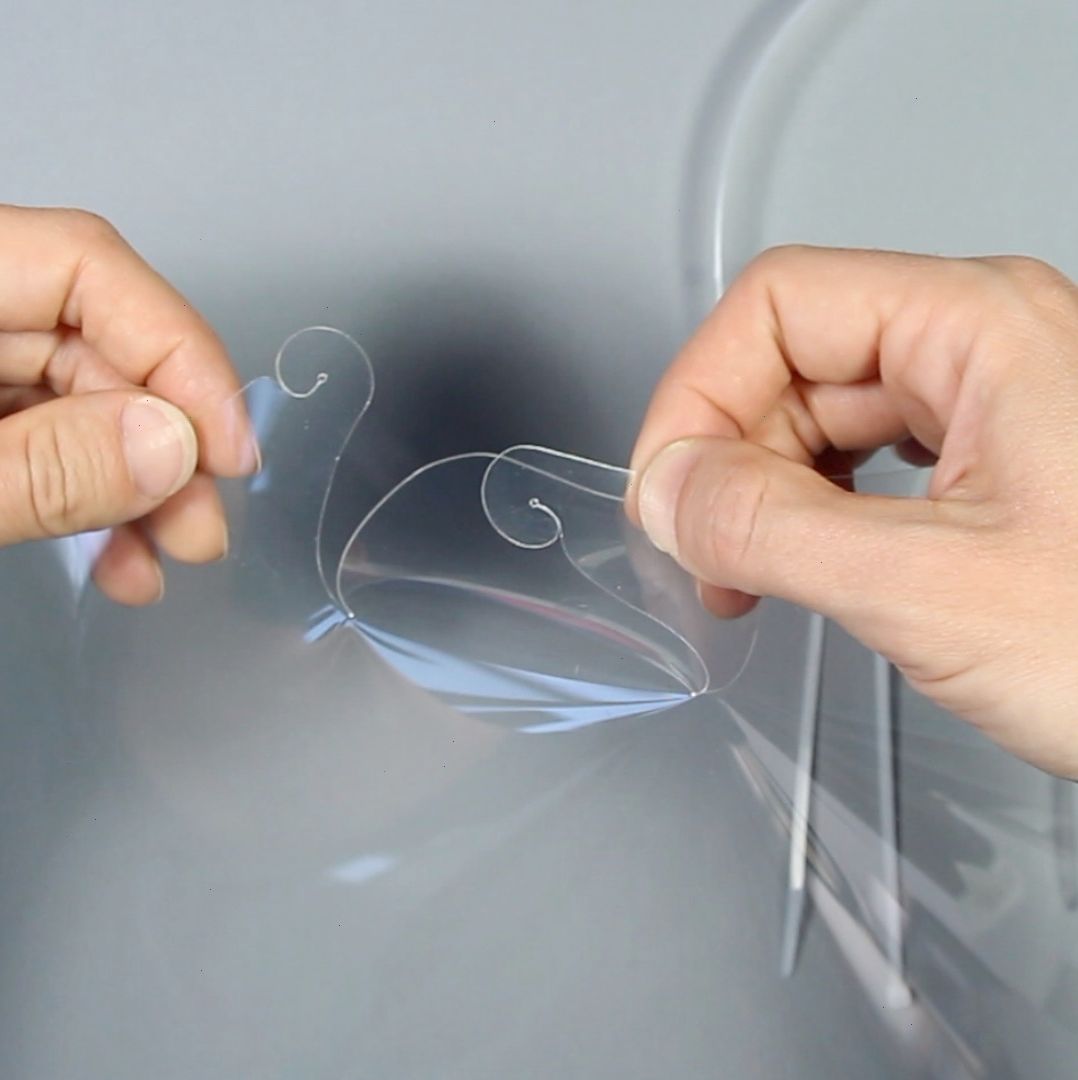
1) Place the headband with 4 holes on the outside of the headband with 6 holes. Align the holes on one side.
2) Align the holes in the Dura-Lar piece with the holes in the headbands.
3) Thread a zip tie through the holes from the outside of the headband going through the Dura-Lar and both of the headbands. Thread the zip tie back through the other hole.
4) Repeat on the other side.
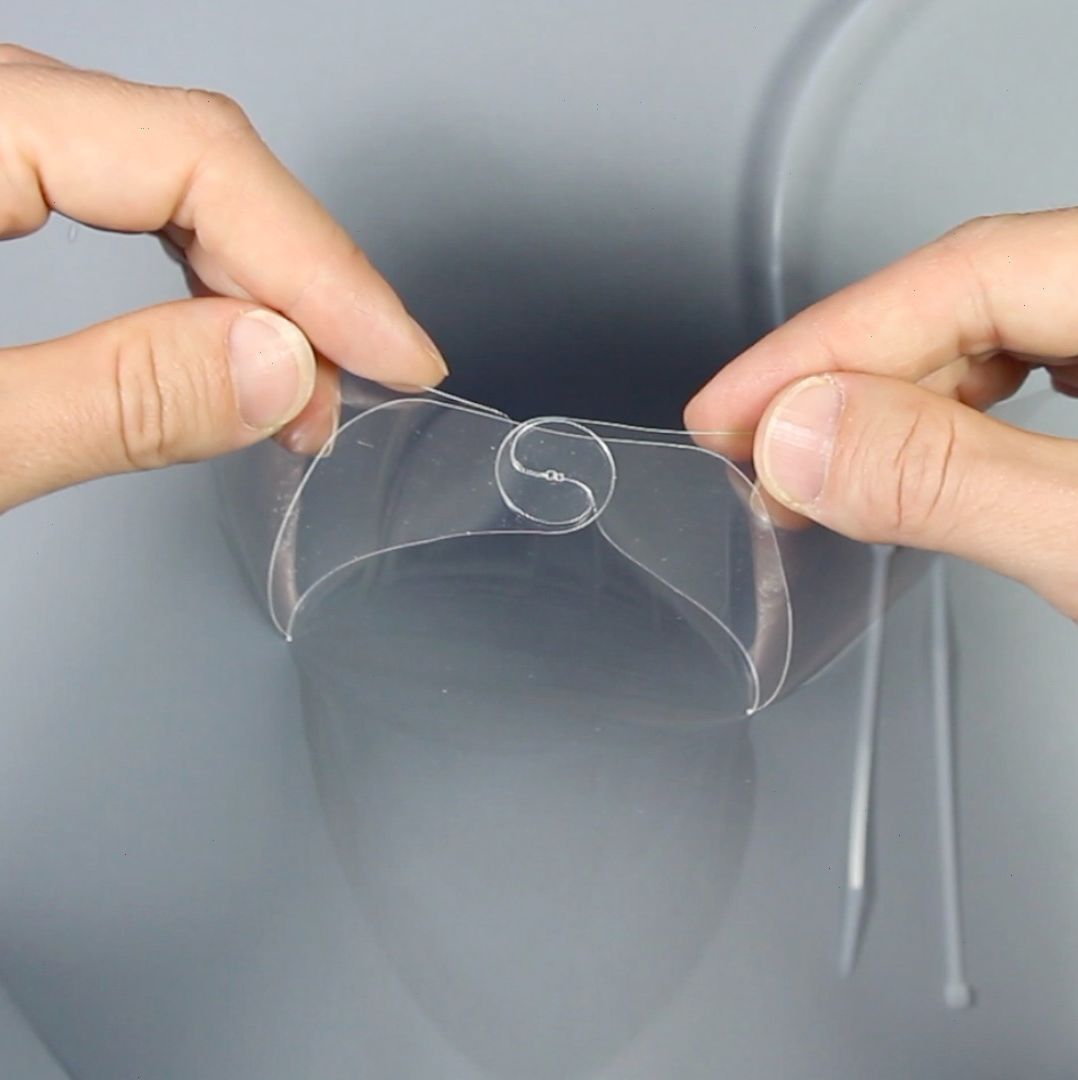
5) Close both zip ties, making sure the Dura-Lar fits snug across the outer headband.
6) Trim off the zip tie's tail with a pair of nail clippers - this produces a smooth rounded end so that it won't catch on hair or fabric.
Finally, Add the Band
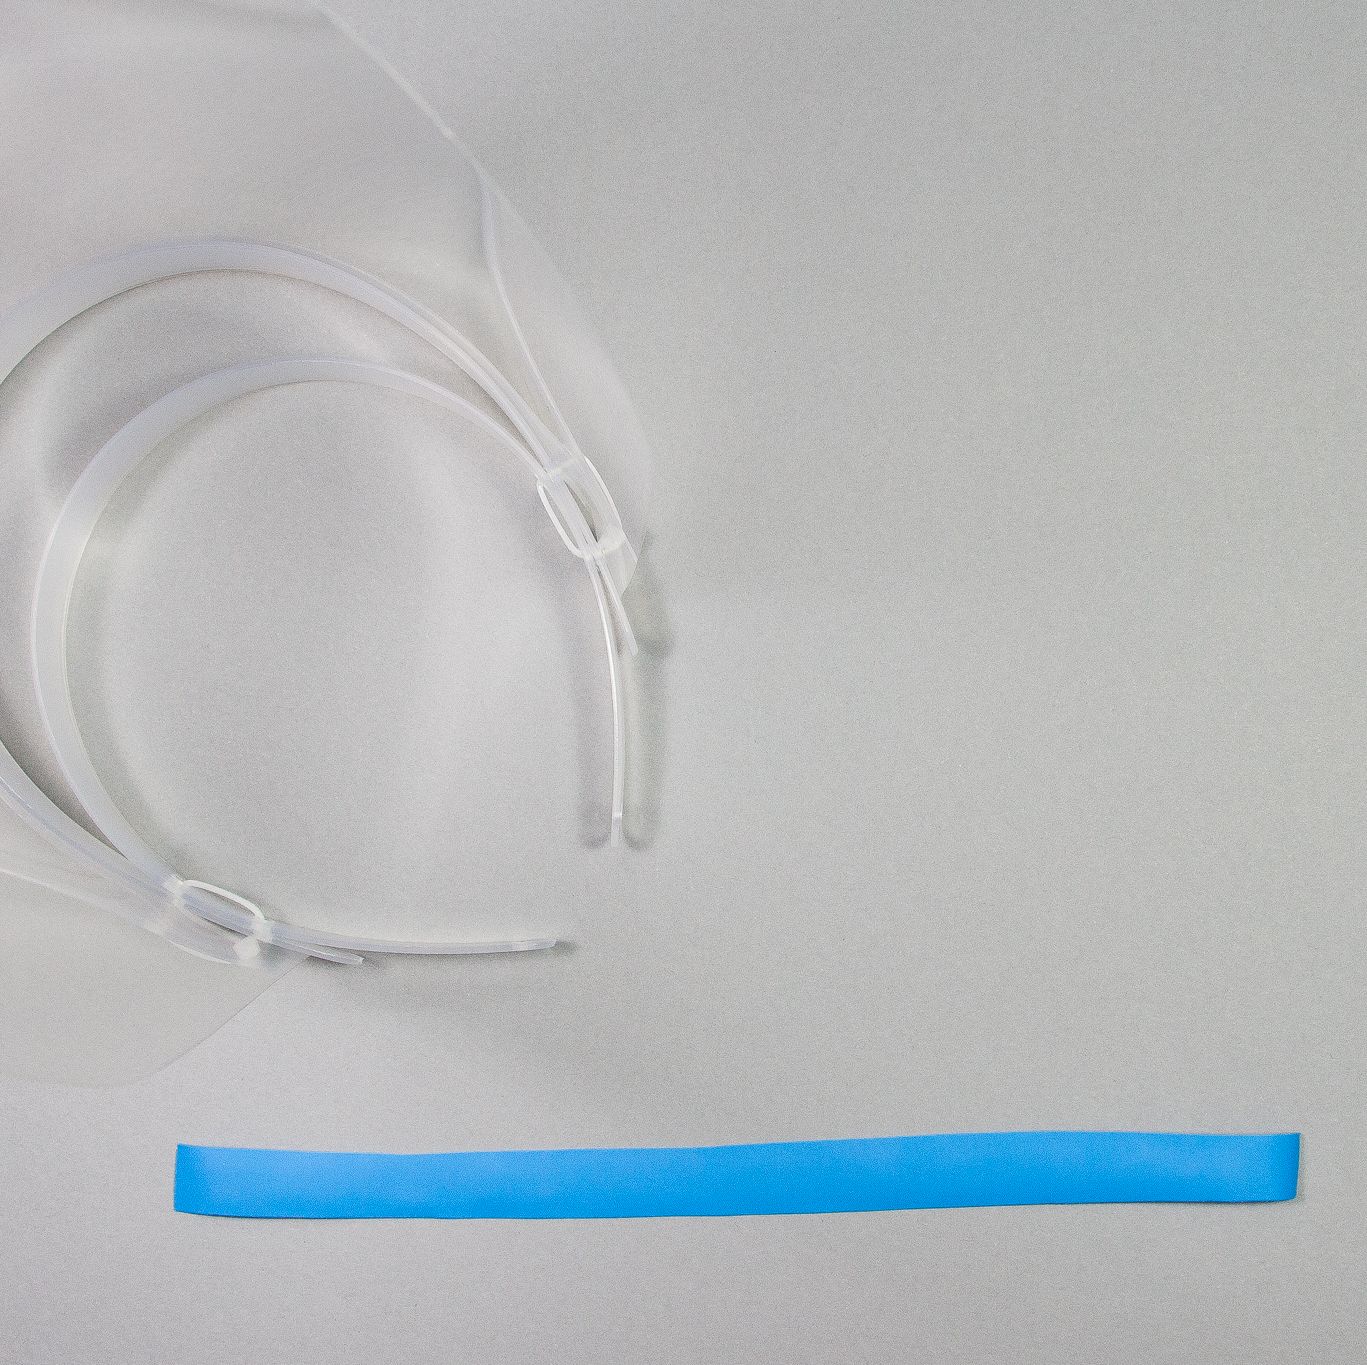
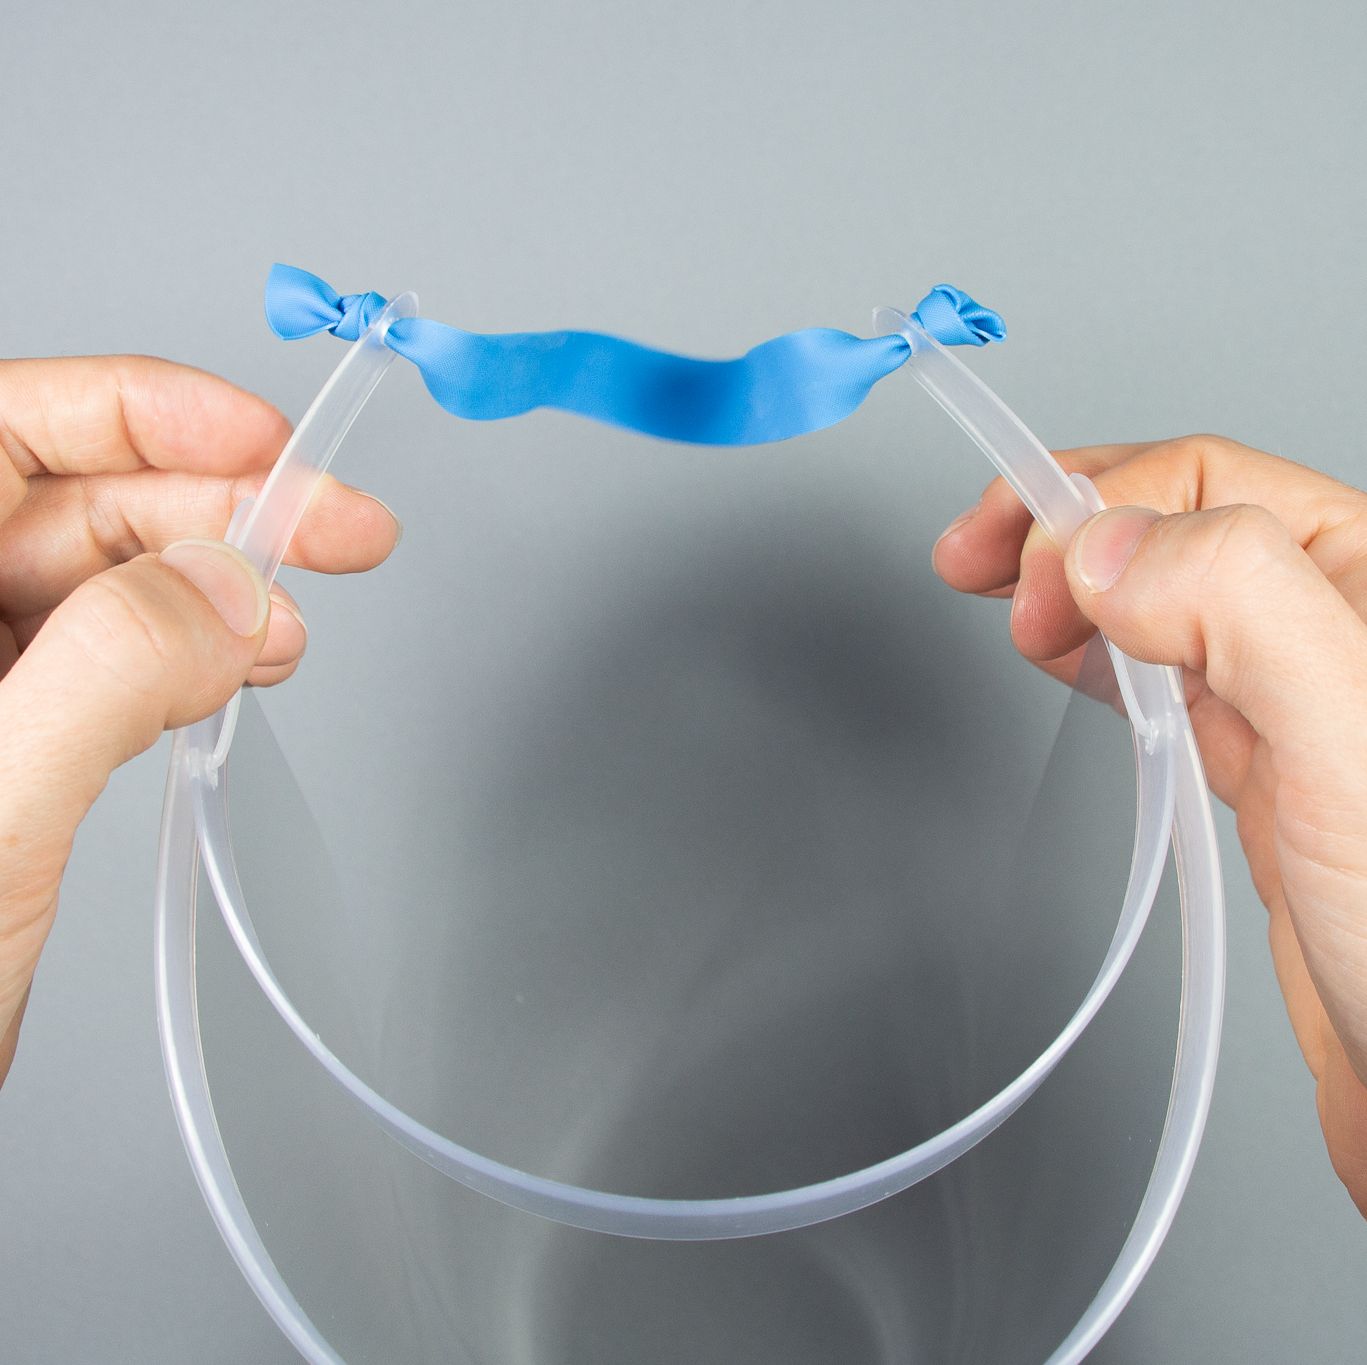
1) Insert the band through the hole at the end of the headband and tie a knot to secure it in place.
2) Repeat on the other side.
Your face shield is ready to wear.
Simple Design

Covered Design