Prototyping Process - The Shoe
Prototyping Plan for the Tap Sensors:
- Create Matrix Sensor in the shape of a tap
- Test with existing code from Matrix/Processing Example
- Create a Processing sketch mapped to the sensor’s visual appearance to prove the sensor is showing zones of impact on the tap
- Define the materials and connection to the shoe
- Plan for cable management to the microcontroller
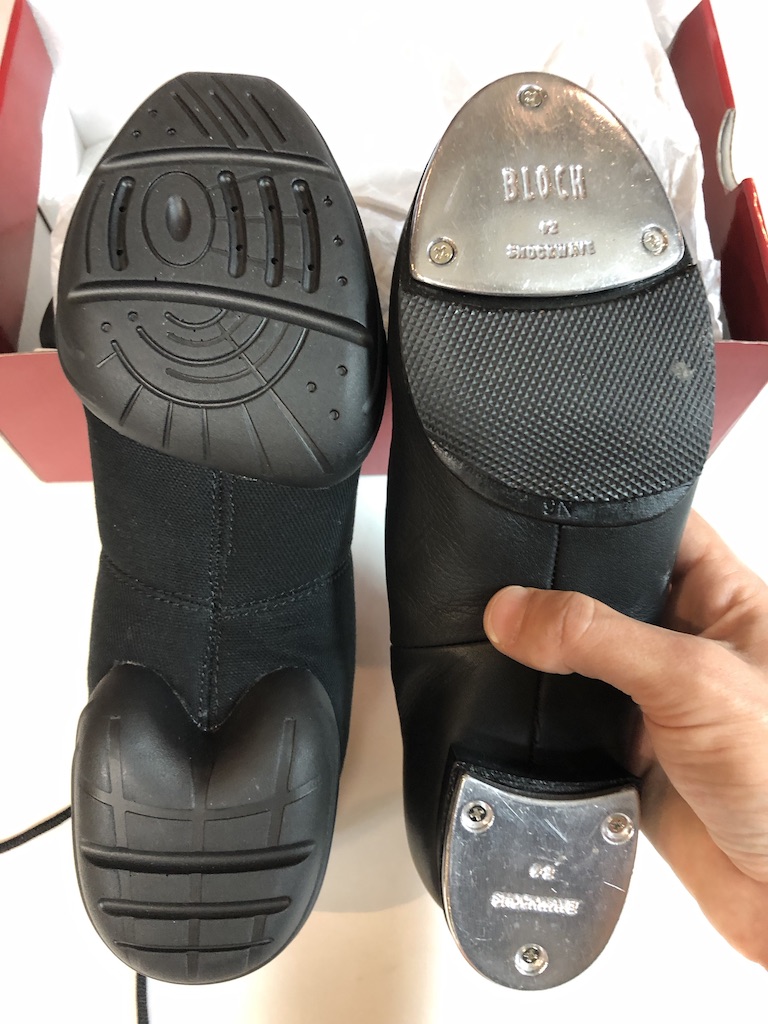
Shoe Type
Split sole jazz sneaker.
- I chose a jazz sneaker because it has a split sole like a tap shoe
- It also had a thick rubber toe and heel that I could easily carve a space for my tap sensors
- You can see the similar profile between the tap shoe and the jazz sneaker
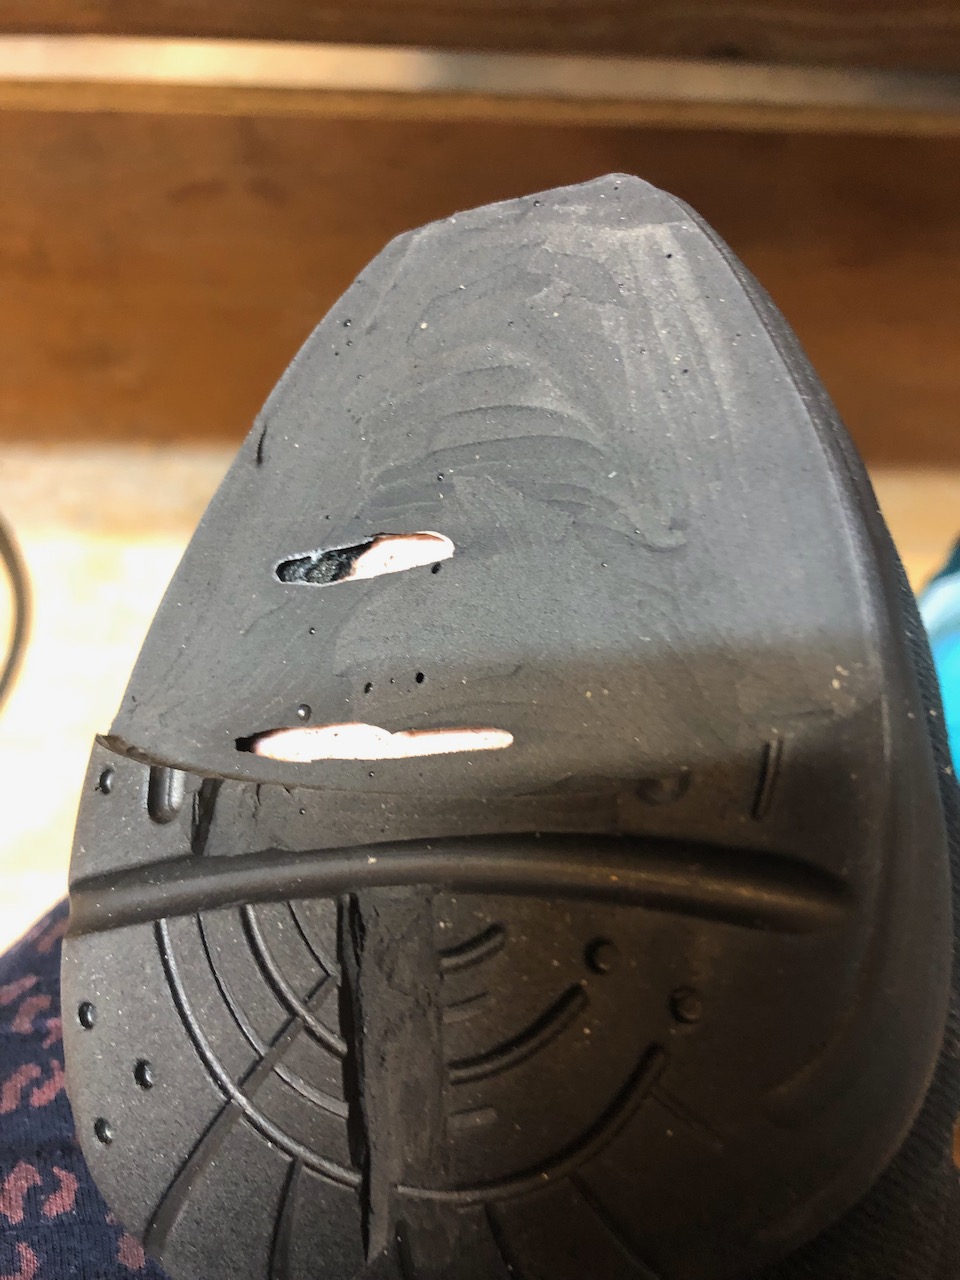
Tap Shape:

Figuring out the custom shape for the taps.

Cutting away a spot for the taps - this made me so nervous to cut into the brand new shoe! I did cut one a bit too deeply, so I evened it out with some shoe goo.


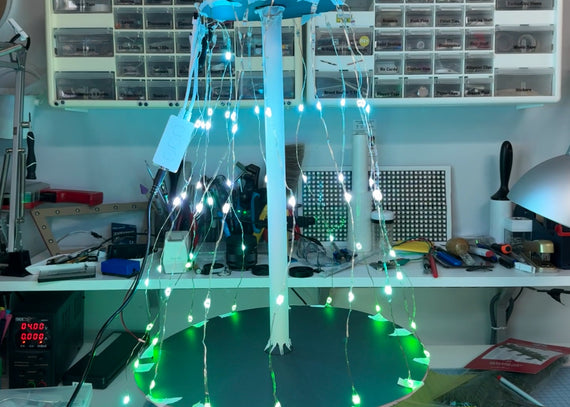
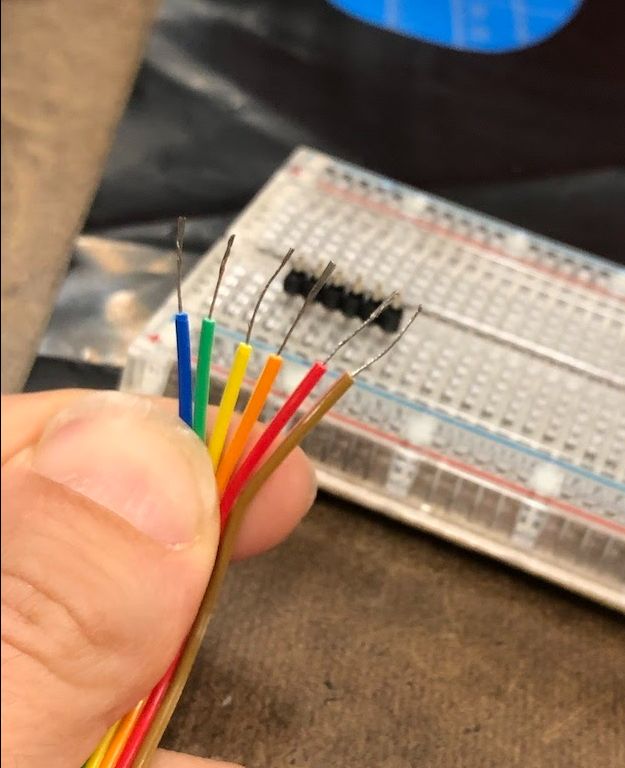
Tap Sensors - sketch:
A matrix for sensing where pressure is applied and how much area the pressure is applied to (maps to volume, probably)
Total 10 wires (plus toe switch)
Experiment with surrounding sensor with plexi, rubber, neoprene, a drum dampening pad, vinyl etc. to find the right amount of fluidity...
My first try was too skinny - it was hard to remove the traces from the cutter and there wasn't enough surface area to make a good connection. I ditched this style and redesigned it right away.

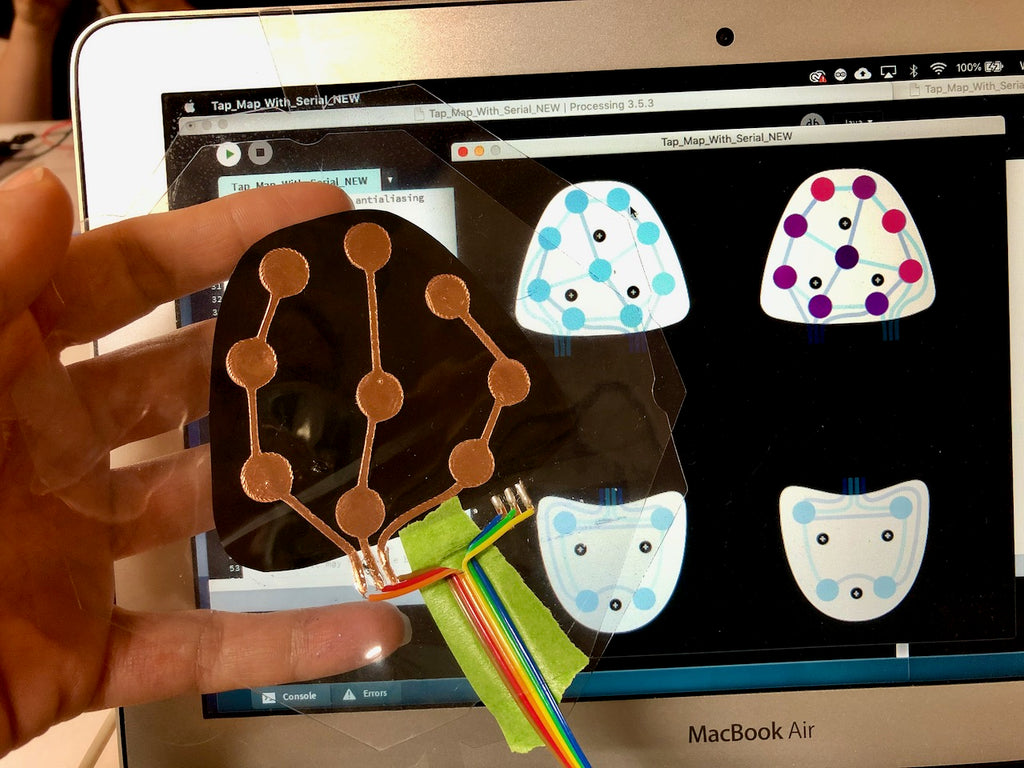
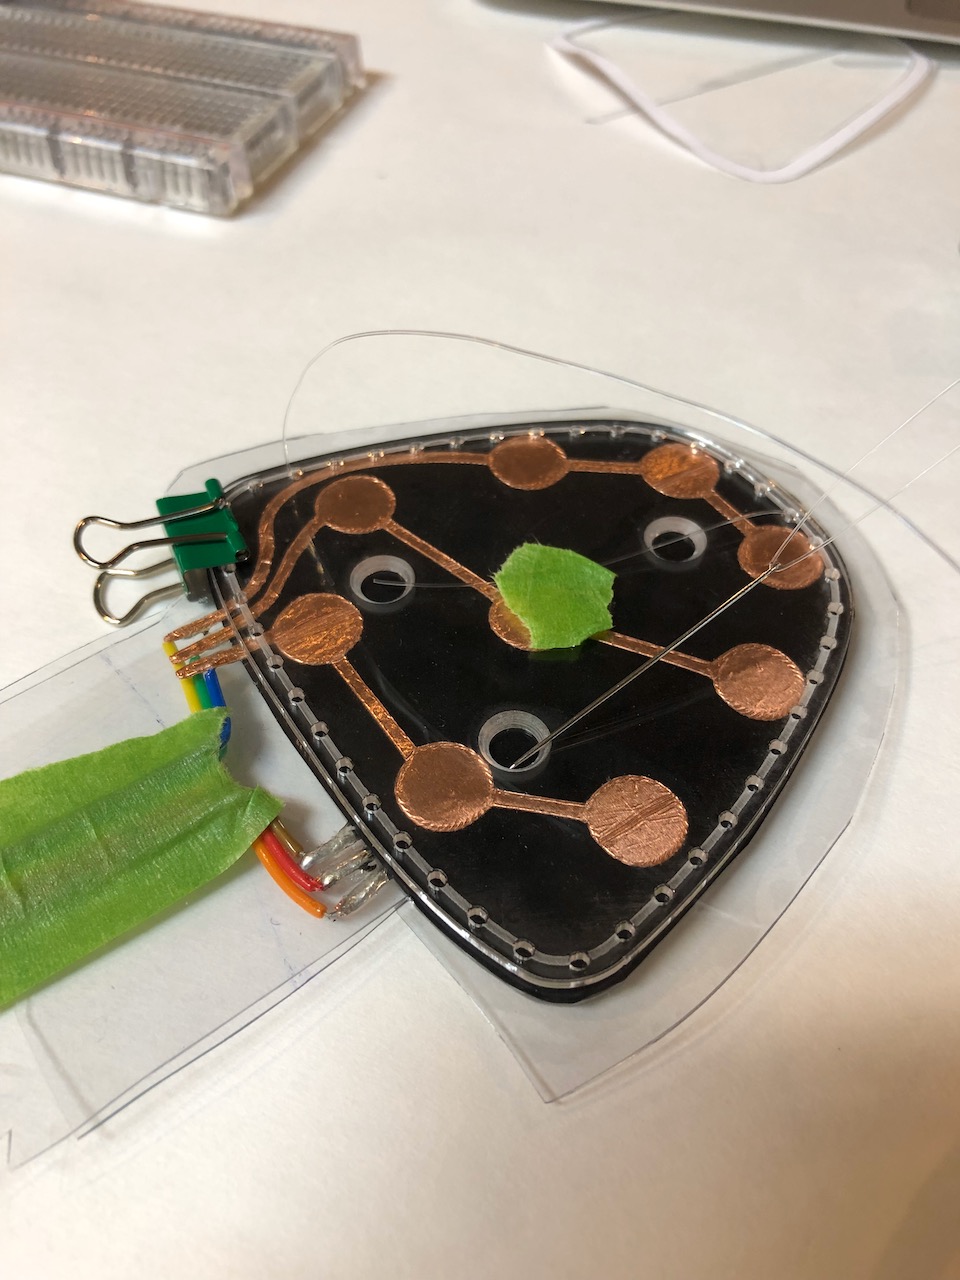
Tap Sensor - V1 - Sensor Traces
- Copper Tape cut on Silhouette Cameo (slower speeds worked better)
- 3 x 3 grid with thin copper traces on 16mm vinyl to see through it

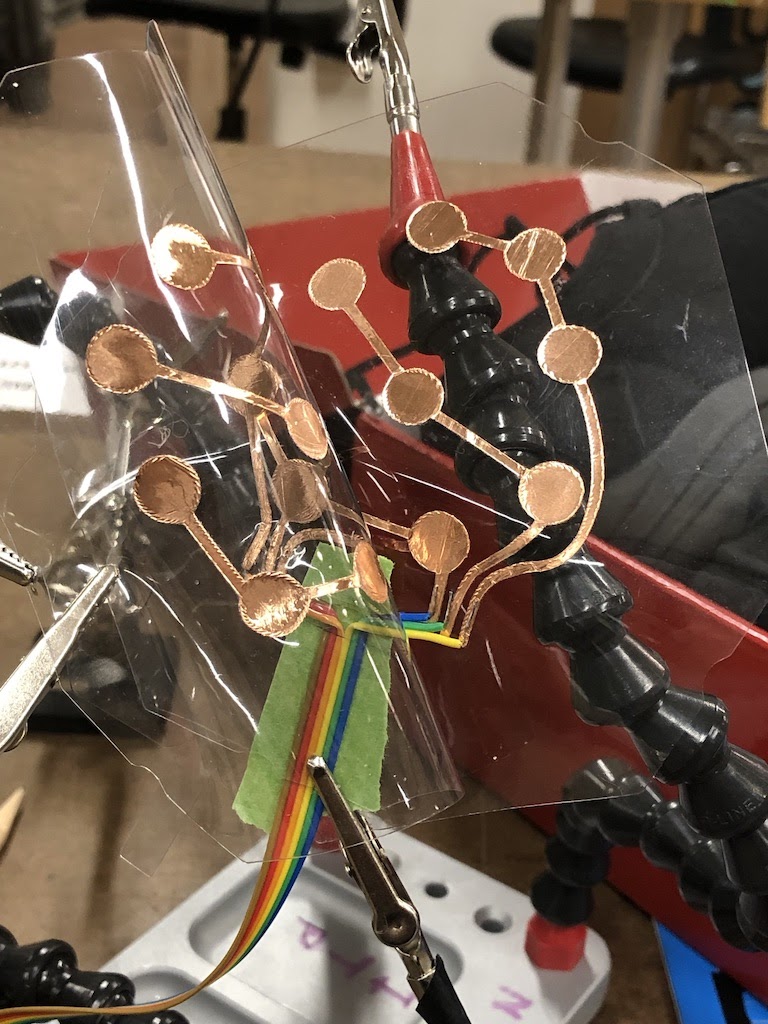

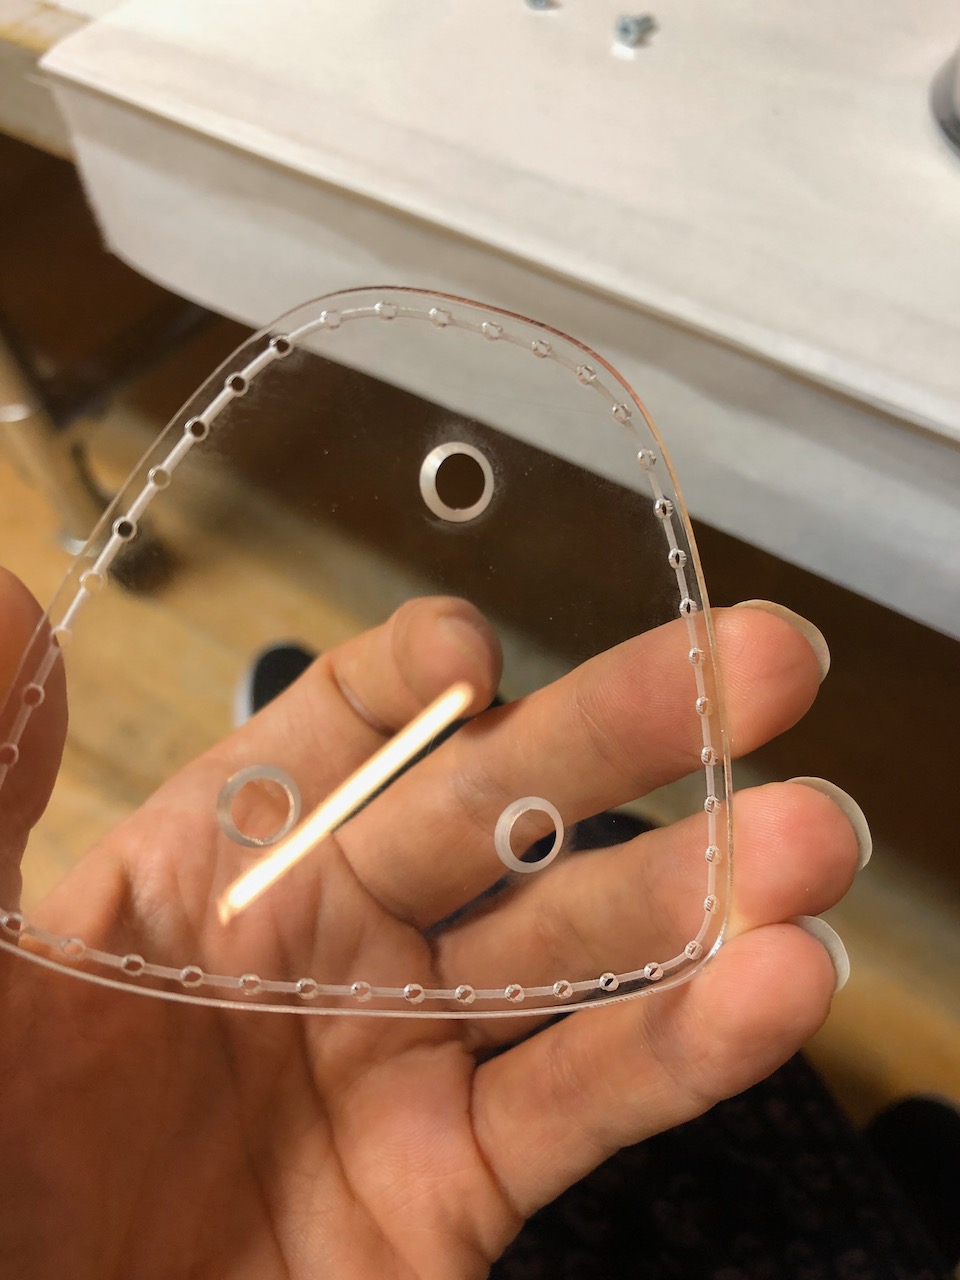
Tap Sensor - V1 - Acrylic, Velostat, Copper Sandwich:
⅛ in clear acrylic laser cut in tap shape, with small holes and etching for stitching around the tap (for alignment)
The sensor was stacked with the acrylic, the clear vinyl with copper traces, a piece of Velostat, the other piece of vinyl with the copper facing the Velostat, and the second acrylic tap.


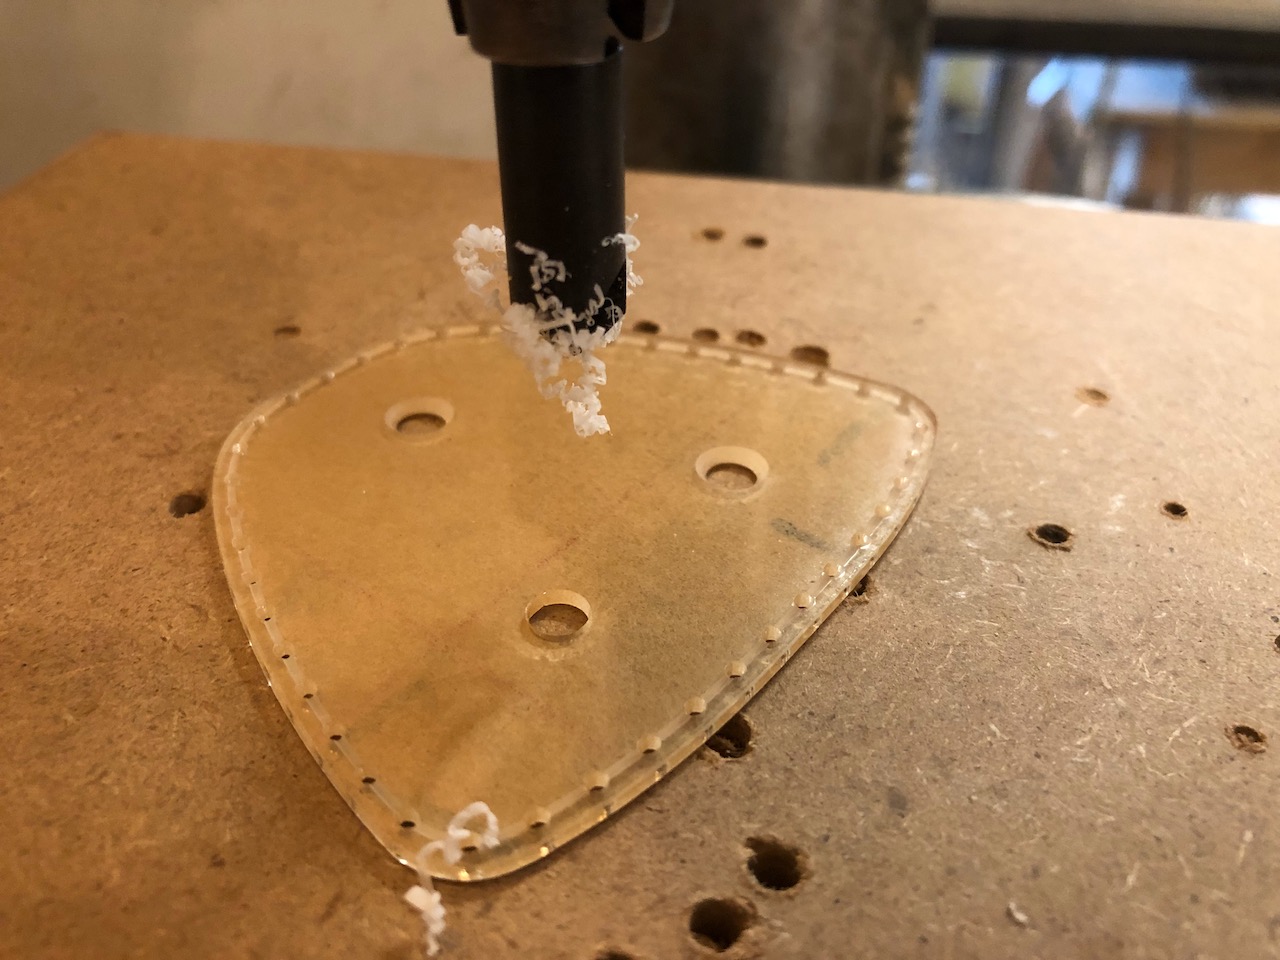
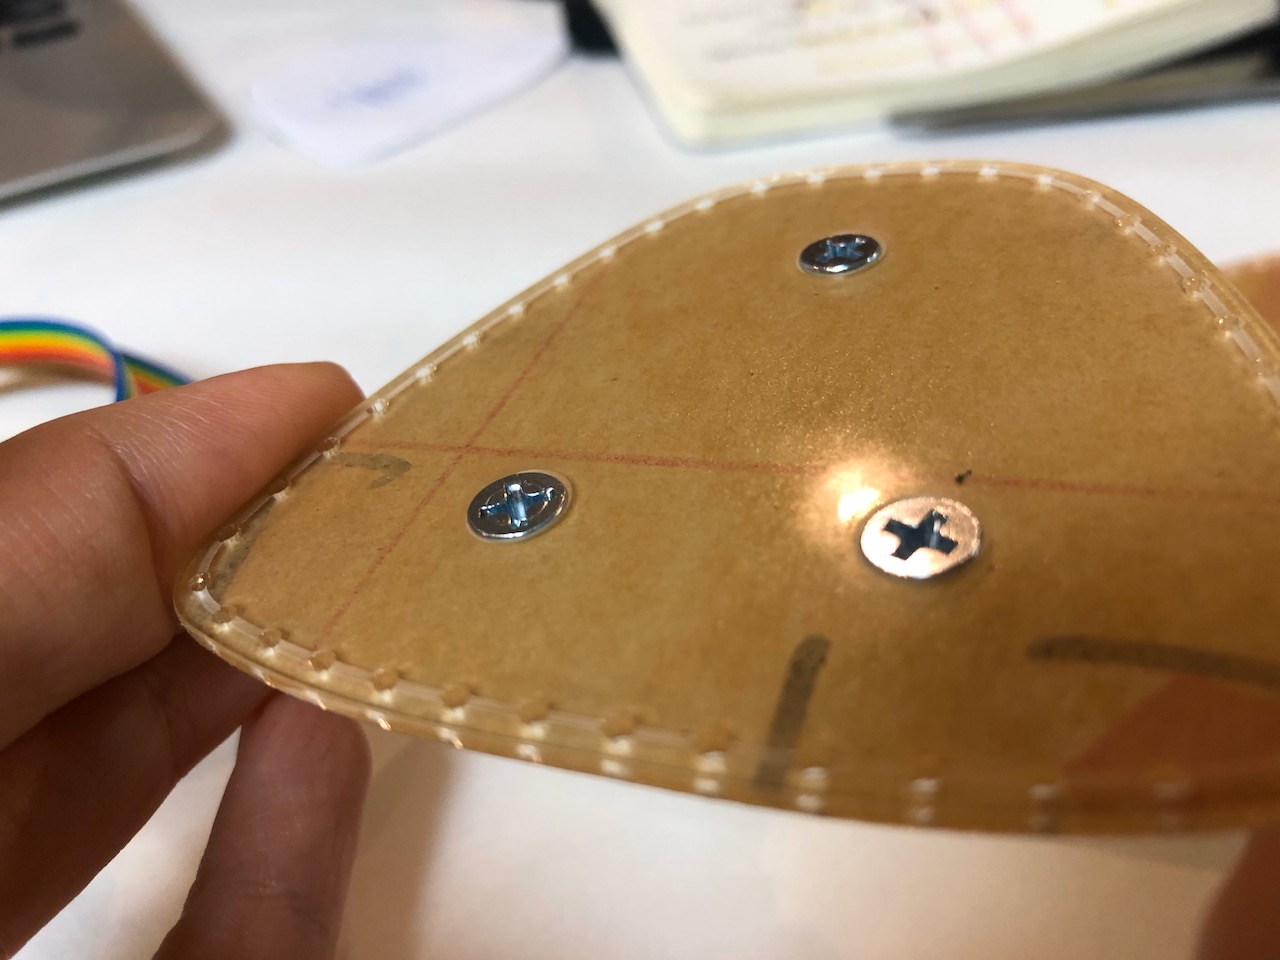
Countersunk the holes to make the screws sit flat on the bottom of the shoe
Sewing the sensor together DID NOT WORK! (Haha)
I tried fishing wire and thread, but both put too much pressure on the sensor, preventing it from reading anything other than “pressed”. How silly of me! But you know, that's why making is interesting.
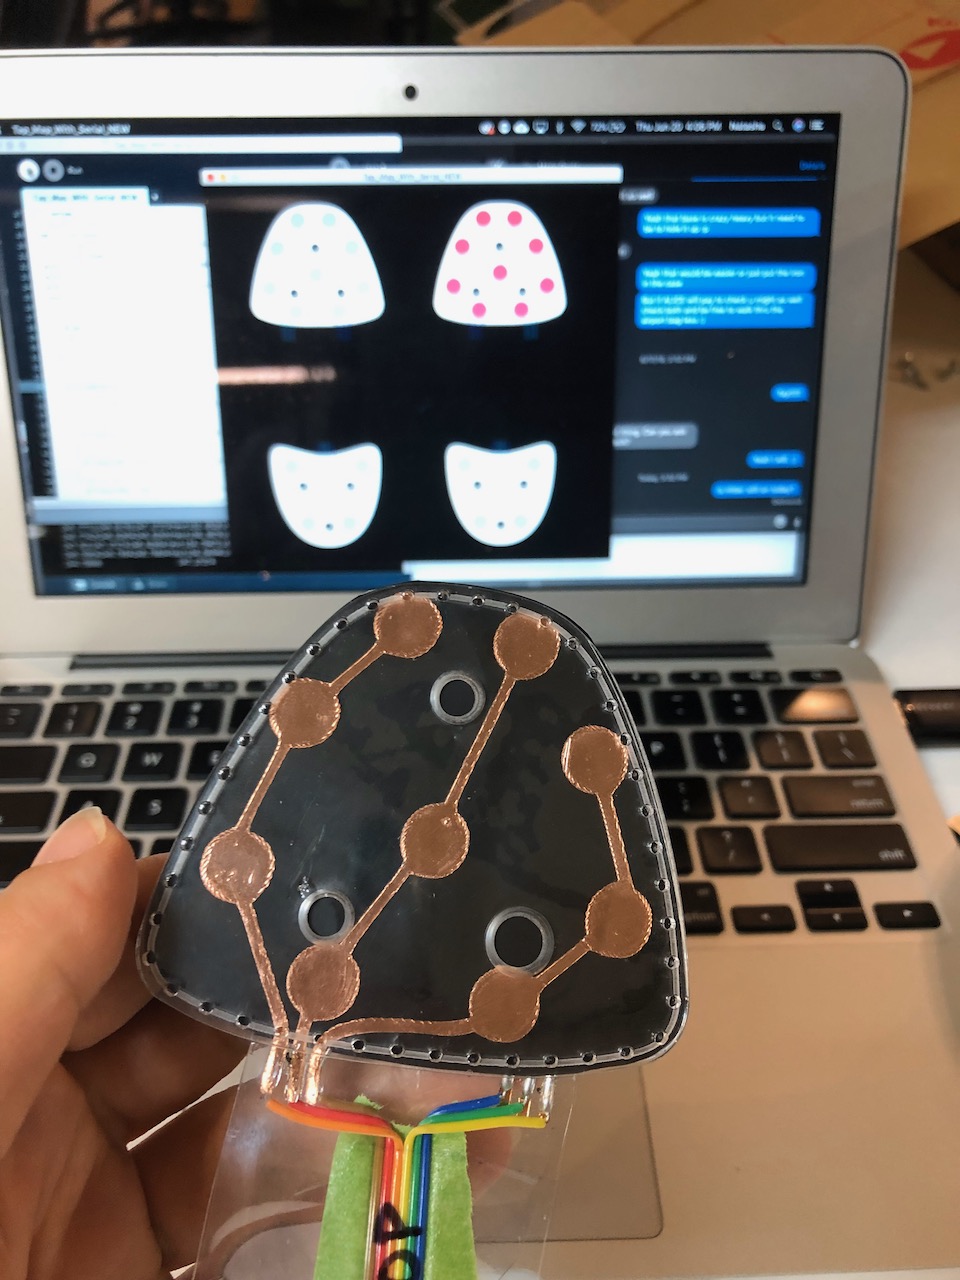
I made a sketch in Processing using an image of the sensor file and some dots to represent the sensors
This worked great to test the sensors and see their sensitivity

Tap Sensor - V1 TAKEAWAYS
- This sensor broke right away due to the placement of the wires exiting the sensor (should have learned that from the inked tap shoe exercise, but learned it now!)
- Thin copper traces are easy to come apart, thickening them wherever possible will help.
- Cutting the bottoms off the shoe was necessary for the taps to be placed properly, in a way that they really feel like tap shoes. :) #WorthIt
- THE SENSORS WORKED WITH JUST SCREWS! No need for stitching holes anymore, the screws will work just fine